

Potlucks and Taco Salad
The first weekend of our marriage, Justin was invited to an all day team roping, complete with an afternoon potluck. Ahh, a potluck.
In the past, my potluck “contribution” has always been as follows. I spend my morning drinking coffee and watching the Today show, while my mom is busy boiling, slicing, measuring and mixing. I take my time getting ready, whereas Mom has less than ten minutes to get herself put together, usually leaving a trail of flour and chopped pickles in her wake. We load up, and she drives to our destination—obviously, because I’ve worked way too hard to exert any more effort than necessary. I walk in, all smiles, carrying the dish my Mom slaved over all morning long, attempting to claim it as my own creation.
Luckily for my mom, I can no longer ride around on her apron tails. Because when you’re married, you’re expected to bring a dish representing your own family’s tastes. Ahh, the joy.
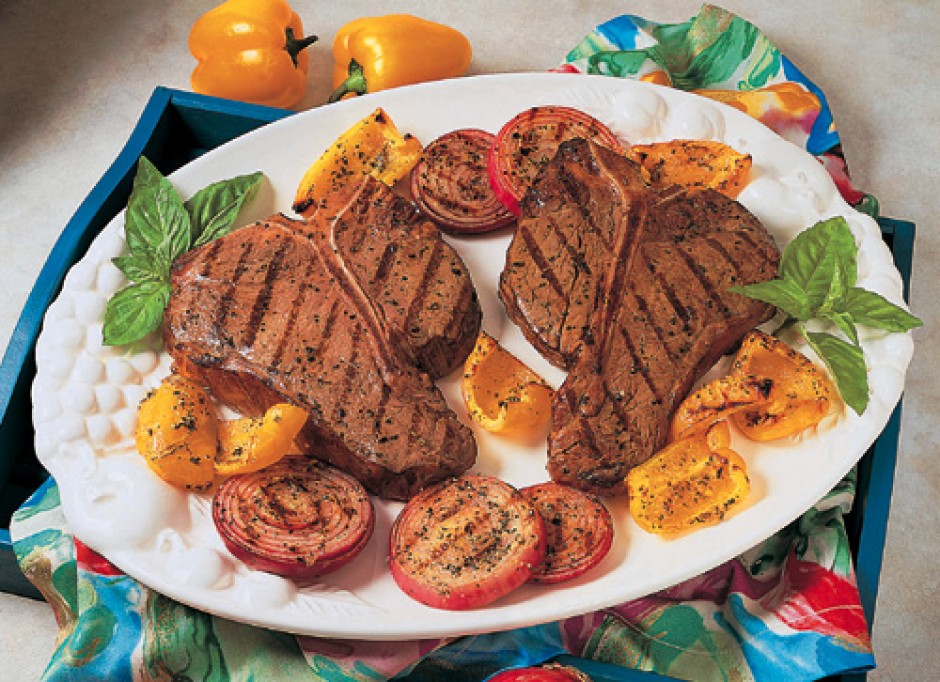
There weren’t any dish stipulations, so I decided to take the only cowboy-approved salad I’ve ever seen, Momma De’s Taco Salad! I know that a cowboy approved salad sounds awfully similar to an oxymoron, but believe me, stranger things have happened.
My potluck contribution turned out to be a huge success. In fact, when Justin and I got in line, the only thing left was what was caked to the serving spoon. He looked at me and smartly said, “I thought you told me you couldn’t cook?” Ha! Ladies, we all know that a smart woman keeps a few secrets up her sleeve.
I’m going to backtrack for a moment, only to tell you a little bit more about “Momma De.” The recipe for this ridiculously delicious salad comes from my mother-in-law, Dena. It also happens to be the first recipe she ever confided in me, prefaced by something similar to “If you’re going to marry my son, you need to learn how to make this.” Although it makes an appearance at 90 percent of the birthdays and BBQs we go to, nobody ever grows tired of seeing it.
MOMMA DE’S TACO SALAD:
*When I made this most recently, I used one pound of hamburger, so that’s the scale this recipe is set to. If you’re cooking for a crowd, I would say anywhere from 2-3 lbs. of hamburger would best fit your serving needs, requiring you to double or triple other ingredients as needed.

Ingredients:
1 lb. Lean Hamburger
2 Romaine Lettuce Hearts
1 can Black Beans
2 cups Shredded Cheese
1 bag Nacho Cheese Doritos

Dressing:
2 parts Mayo
1 part Ketchup

In a pan with medium heat, start by breaking your hamburger into bite-sized crumbles. I like using a lid to keep extra heat in, which will help your meat cook a bit faster. The lid also helps when draining any excess fat, which I do frequently. If you’re using 80/20 or above, you shouldn’t have very much fat, if any, to drain off.

While that’s cooking, I like to chop lettuce, and drain beans. When those are ready, I mix them into my serving bowl, then add the cheese.

For this size of salad, I would recommend about 2/3 cup of Mayo, and 1/3 cup of ketchup. I also suggest that you add dressing conservatively, because it seems to stay fairly moist during its refrigeration time. I rarely add extra, but when Inclined I wait until right before I serve the salad.

After my meat is finished cooking, I pour it onto a small stack of paper towels, again to get any grease out. After that, I add it along with the other ingredients. Then, I top with dressing, making sure to mix thoroughly.

Now, on to the Doritos. This can go one of two ways. If you’re serving this for a crowd, I advise you to next, add about half the bag. This is done by crunching the chips in your hands as you pull them from the bag and put them in the salad bowl. Medium sized pieces seem to work best. Usually if I’m only cooking for Justin, I end up with a couple meals worth of leftovers, so I have him add the chips to his own bowl. This prevents the chips from having a chance to get soft before the next meal.
I recommend chilling this salad prior to serving–it usually tastes better when the meat has a chance to cool off from cooking. You can always cook the hamburger the night before, which makes it even faster to throw together the next day.
I hope you enjoy this recipe as much as my family does!
~ Jessie
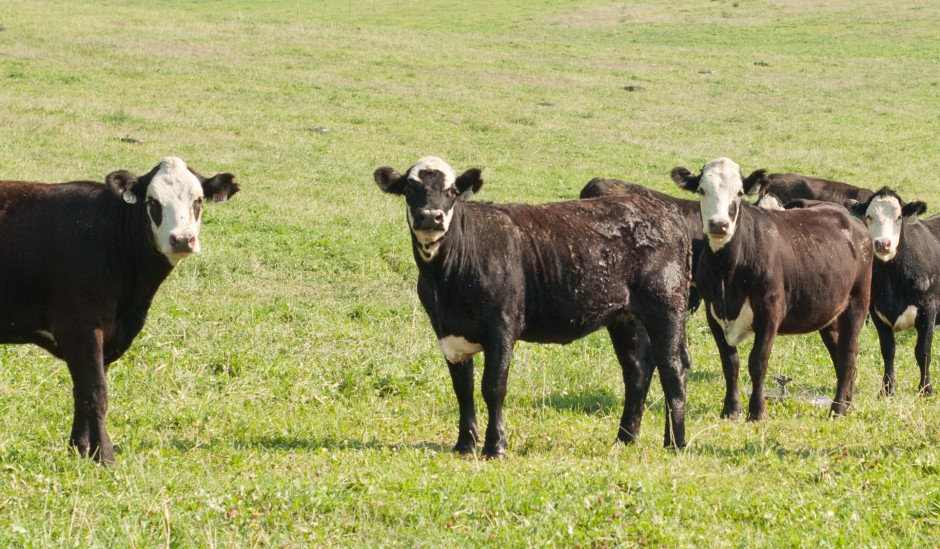
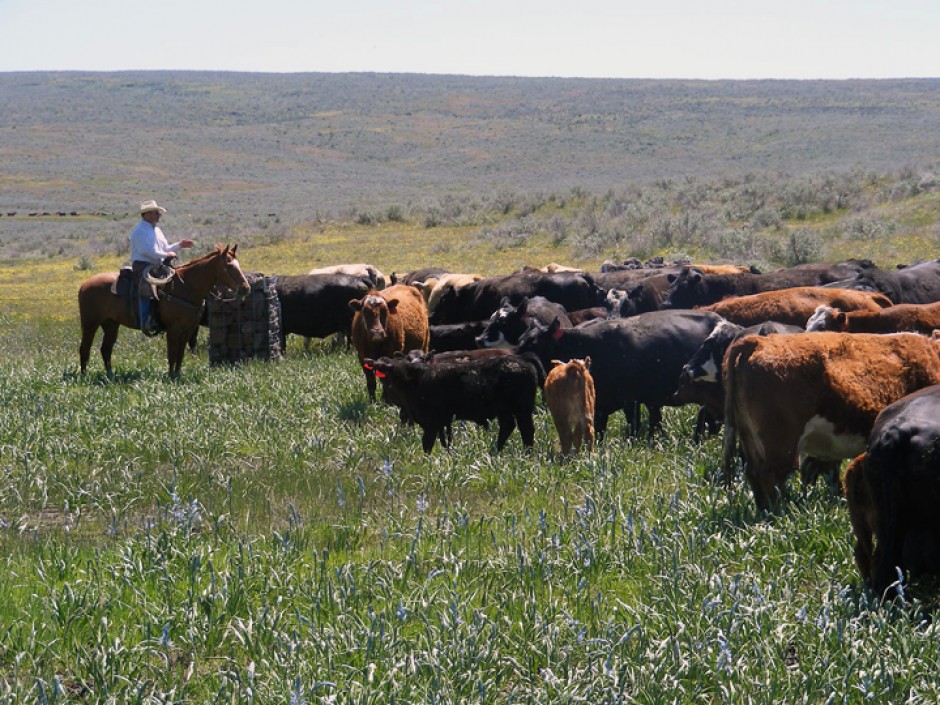
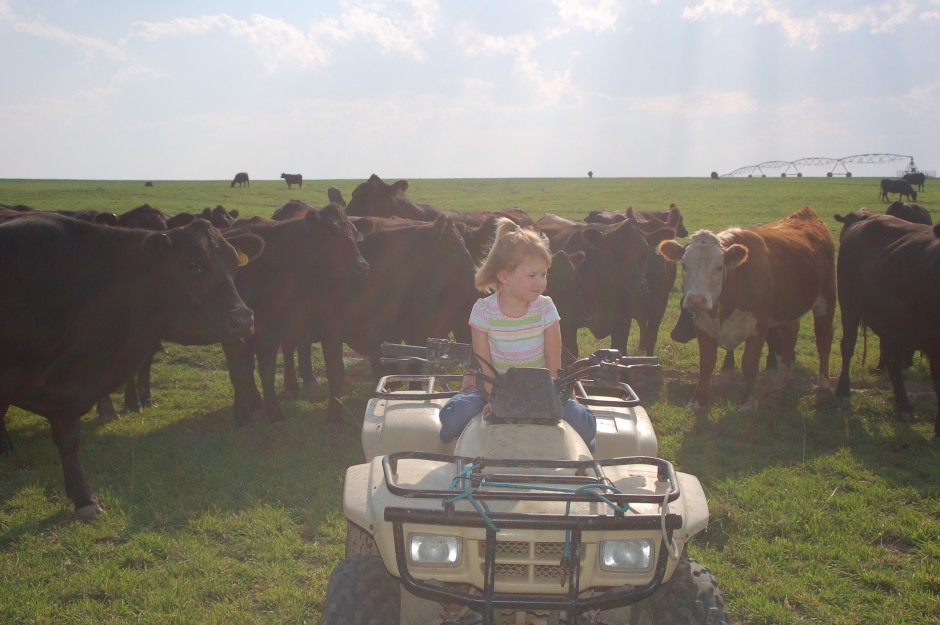
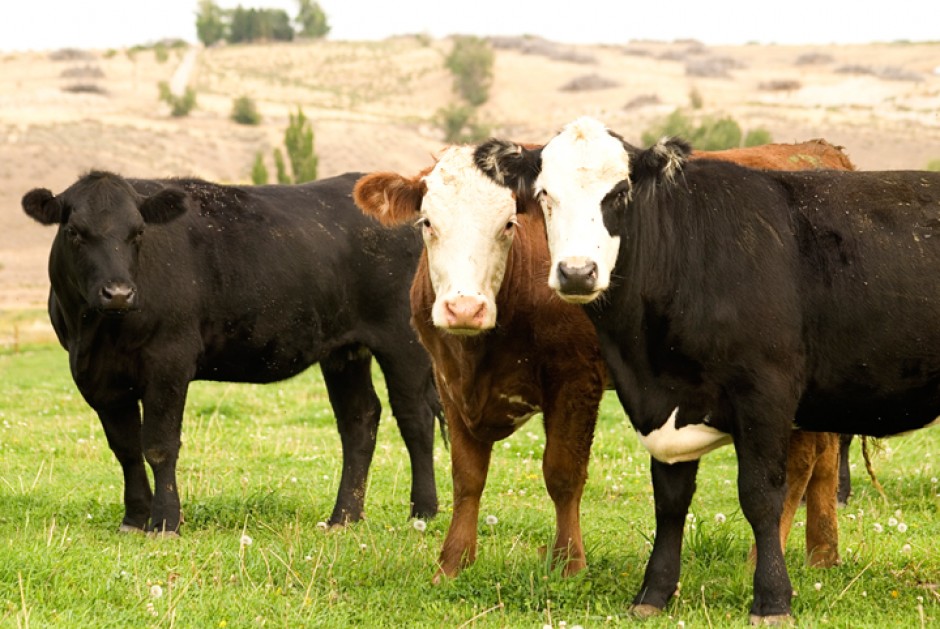
Jessie has returned to her roots on her family’s commercial black angus cattle ranch in southern Idaho after time away at college and working on behalf of the state’s cattle producers. She’s passionate about agriculture and the western way of life. When she isn’t doing ranch work or writing, Jessie enjoys baking, golfing and drinking coffee. As a newlywed, she’s also turning a little cabin on the ranch into a home.