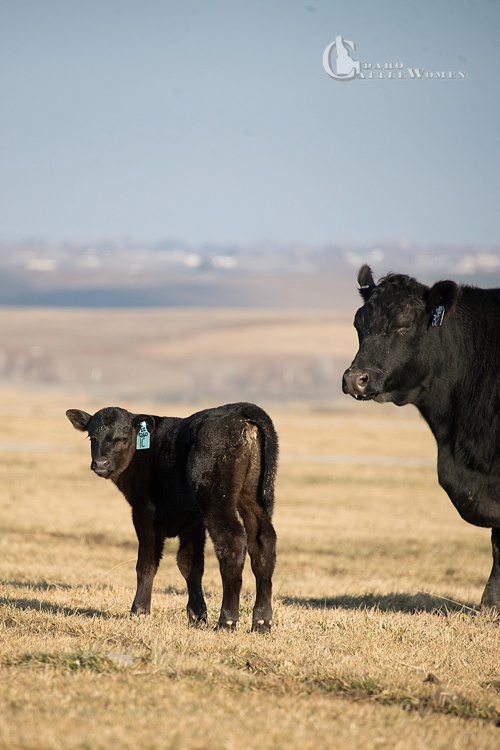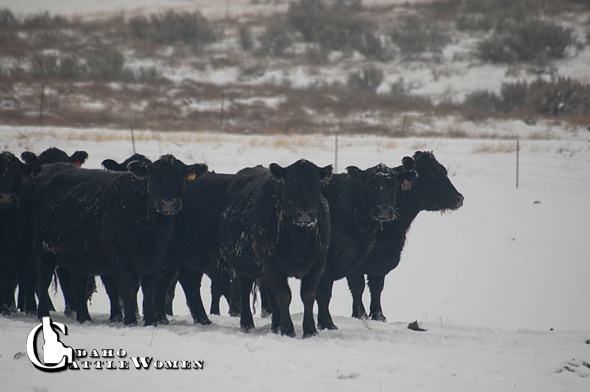
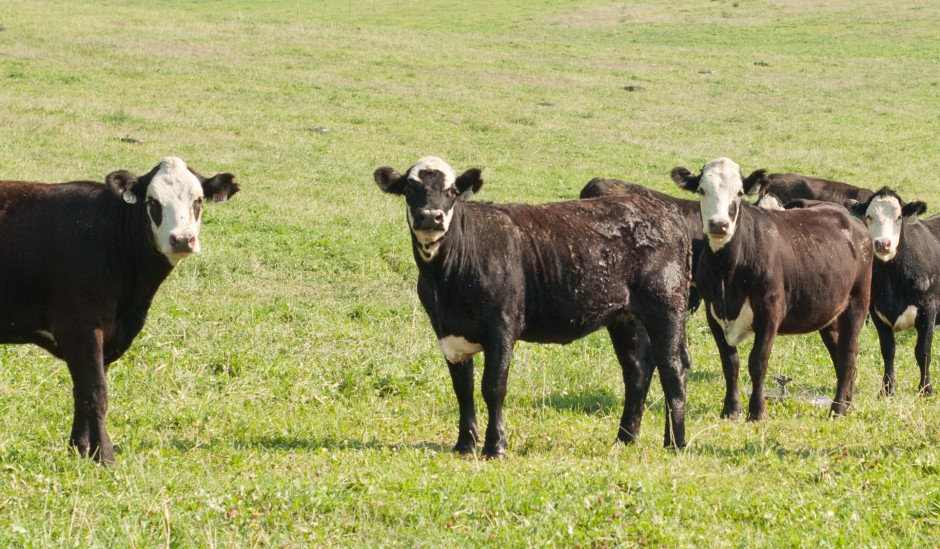
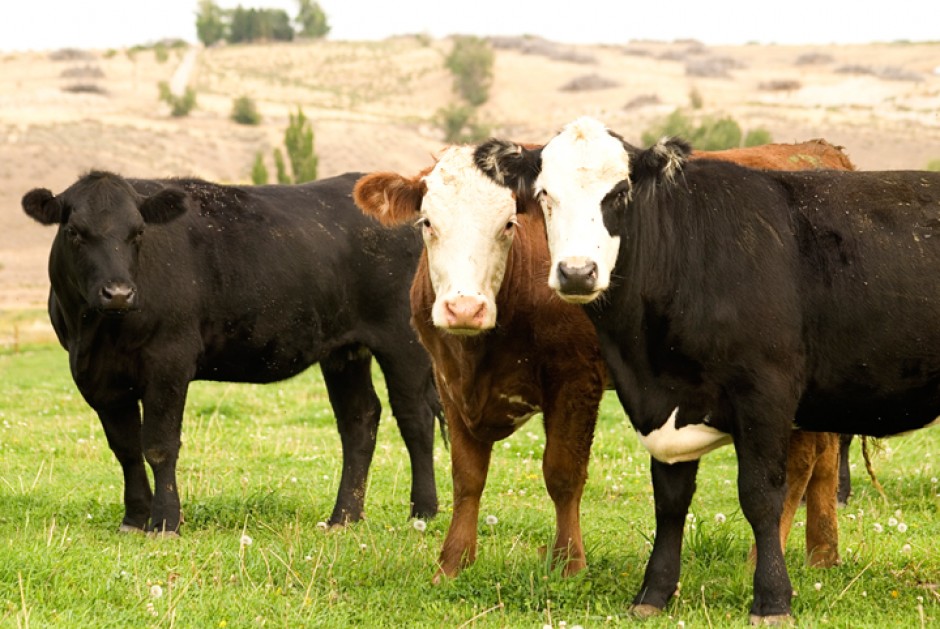
Looking outside, I could see a big black blob surrounded by white. Angus cows were huddled together to keep each other warm.
It’s looking a lot like old man winter around here. We had our first snowstorm of the year and I believe most of the state is under a blanket of white now. I have to admit—we weren’t quite ready for snow before Thanksgiving. The kids even got a snow day from school because of it. They may be bundled up and enjoying the snowy landscape outside, but there is still plenty of work that needs done around here. There are no “snow days” for a rancher.

Yes, my son is wearing pink snow bibs. That’s what happens when you outgrow everything else and you have older sisters. Good thing he was more interested in staying warm while scooping snow off the patio than what color he was wearing. ;0)
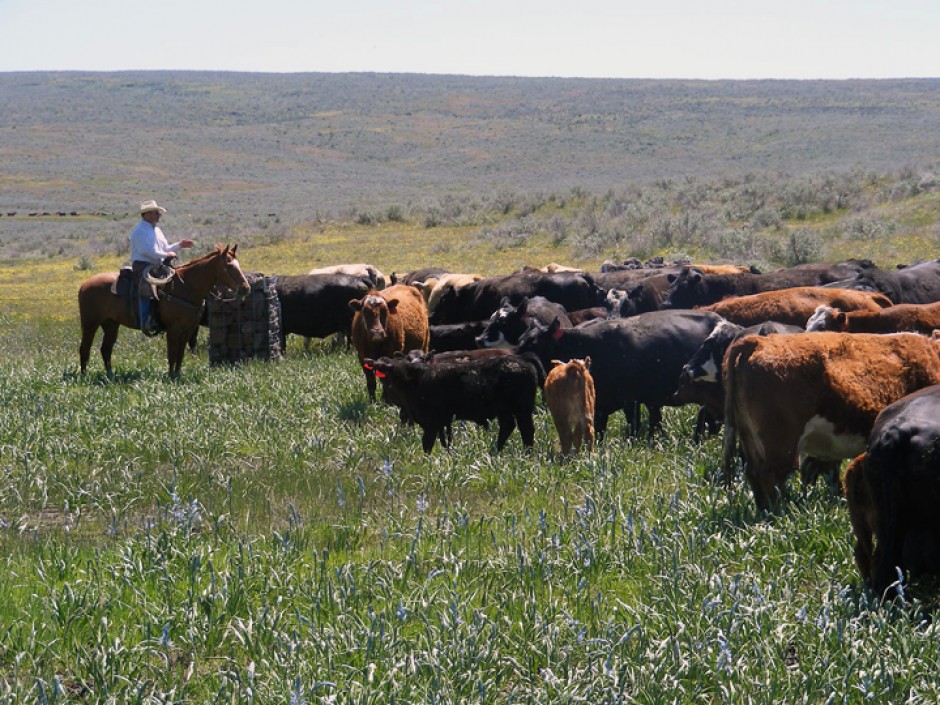
The hubby was up early to check on the cows and calves. We had calves born this fall so we want to make sure they stay warm and dry so they don’t get sick. We’re also expecting more embryo transfer calves to be born soon, and this is not great weather for brand new babies, so the guys are getting those cows still needing to calve in by the barn so they can be watched more closely.
Daily chores include feeding animals by the barn and in the pens. These are our herd bulls, donor cows and weaned bulls and heifers for our upcoming shows and sales. We’re fortunate to have automatic waterers, but they need checked to make sure they don’t freeze in really cold weather. Because several inches of snow is covering the grass, the cattle in the pasture will start getting hay to supplement their nutritional needs. They will also have access to protein and mineral tubs as well. We’ll put out straw bedding for them to have a warm and dry place to lie down. Keeping them dry is important.
I thought on this cold November day I’d share a new recipe I created this fall. When it was warmer. And there was no snow.
I love fall—the turning of the leaves and pretty colors, and all the yummy smells like pumpkin and apple.
I miss fall. It seems to have gone from fall to winter overnight.
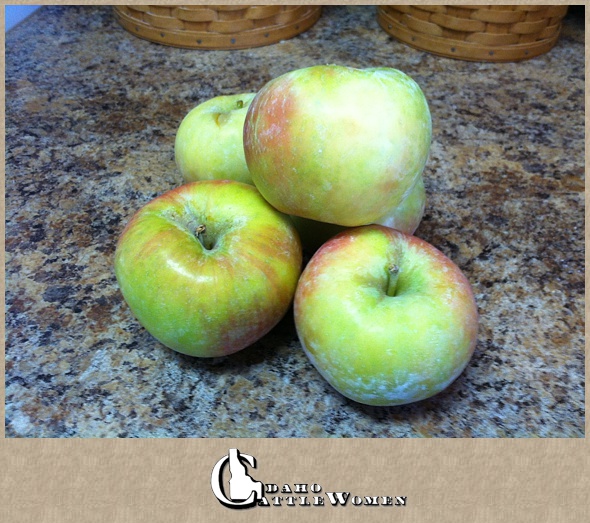
This a good recipe all season long, especially with holiday gatherings and get togethers coming up. It was inspired by a box of Honey Crisp apples I picked up from the local farmer’s market. We’re surrounded by orchards, so there is no lack of fresh and delicious fruit this time of year. I had never tried the Honey Crisp variety; we usually opt for Fuji or Gala, but I was reminded of fresh apple pie with my very first bite—crisp, fresh and sweet. Even though we eat several apples a day and could get through a 20-pound box with ease, I decided I would use some for an apple pie.
Remember how I mentioned I like to experiment in the kitchen? Well, I know baking is more of a precise science, but the rebel in me likes to take risks there too. Instead of going with a typical pie crust recipe (which is not hard at all), I wondered if I could do more of a shortbread crust. I’ve made shortbread before and I knew it was easy—flour, sugar, butter. The first time I tried making a shortbread pie crust, I didn’t quite have the ratio of flour, sugar, butter right, so I did a search and found a crust that works well. I used it and modified the recipe as needed.
So glad I tried this; it turned out delicious. And because I thought it would be fun to try a smaller version, I put the crust and apples in a muffin tin to make mini pies. They are the perfect serving size and you can even eat them with your hands. Of course, you can use the crust for a traditionally-sized pie as well. I also must mention I call this Rustic Shortbread Apple Pie because you don’t roll the dough, it’s just pressed into the muffin or pie tin. There’s no fancy pinching of the edges making it perfectly pretty. But, I promise, it is super easy and delicious! Hope you enjoy!
Rustic Shortbread Apple Pie
Crust: 3/4 cup butter, 1/2 cup sugar, 2 cups flour, 1/4 tsp salt, 2 beaten egg yolks
Apple filling: 6-8 apples (I used Honey Crisp, but Granny Smith would be great too.)
1/4 cup brown sugar, 1 T flour, 1/2 tsp. cinnamon, 1 pinch nutmeg (optional)
Peel, core, cut apples into small chunks. Add brown sugar, flour and spices then mix.
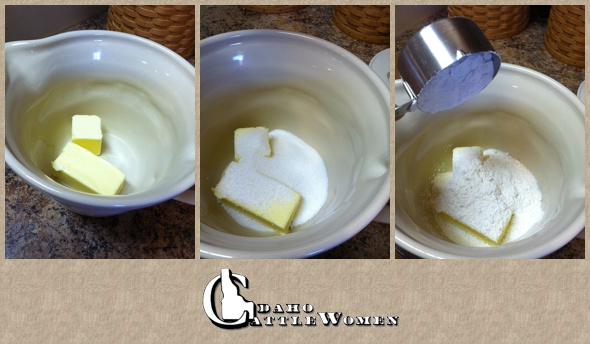
Butter, sugar, flour and salt.
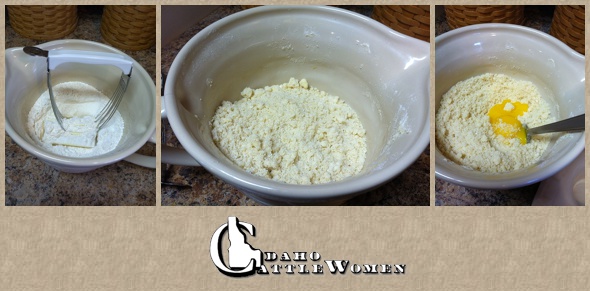
Using a fork or pastry cutter, mix the dry ingredients and butter until it resembles fine crumbles. You could also pulse all the ingredients together in a food processor, but again I’m a little rustic and did it all by hand. Then stir in egg yolks until it forms a dough.
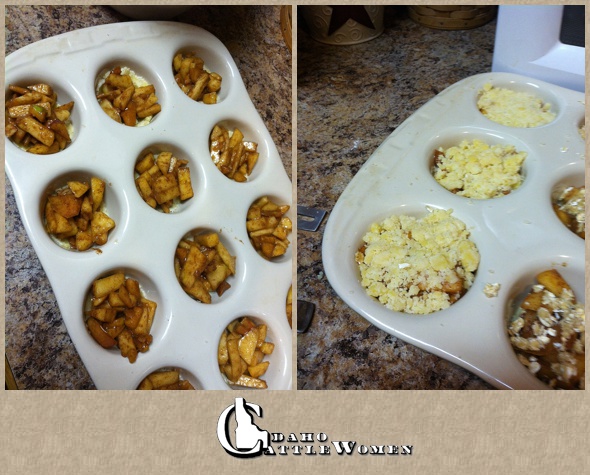
For mini-pies: Press about a tablespoon of crust mixture into muffin tin, then add apple mixture. Top with another 1-2 tablespoons of crust crumbles.

Bake for 15-20 minutes in 350 degree oven until golden brown.
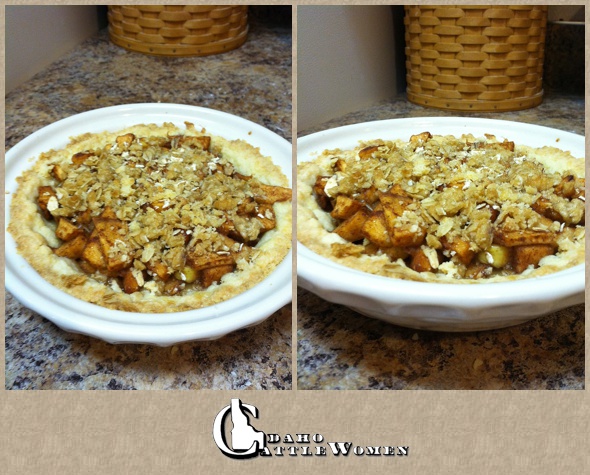
Because I made mini muffin-sized pies, I only had enough crust and apples for a mini pie pan. I just added a streusel topping of brown sugar, oats, flour and cinnamon to the top.
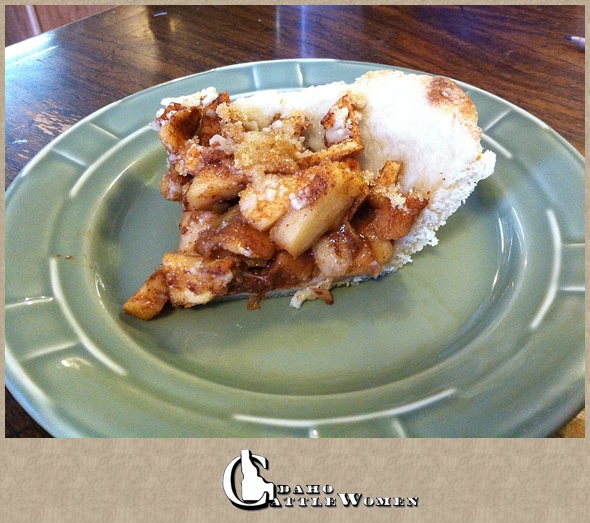
Rustic Shortbread Apple Pie
I ended up trying this twice because my oldest decided to try her own little experiment of baked apples. She is her mother’s daughter and didn’t measure the cinnamon. I love cinnamon, but a little goes a long way. Needless to say, we had to add several more apples to her mixture—enough to make another apple pie!
Whatever your weather is where you are, stay warm!
~ Maggie
Maggie and her husband raise their four children and registered cattle on his family’s southwest Idaho ranch. As a family, they enjoy sports, showing cattle, 4-H, church and other activities when not working on the ranch. She likes to experiment with recipes in the kitchen, shares her love of sweets through baking with her children and has been known to start a DIY project every now and then. Sometimes she actually finishes one.
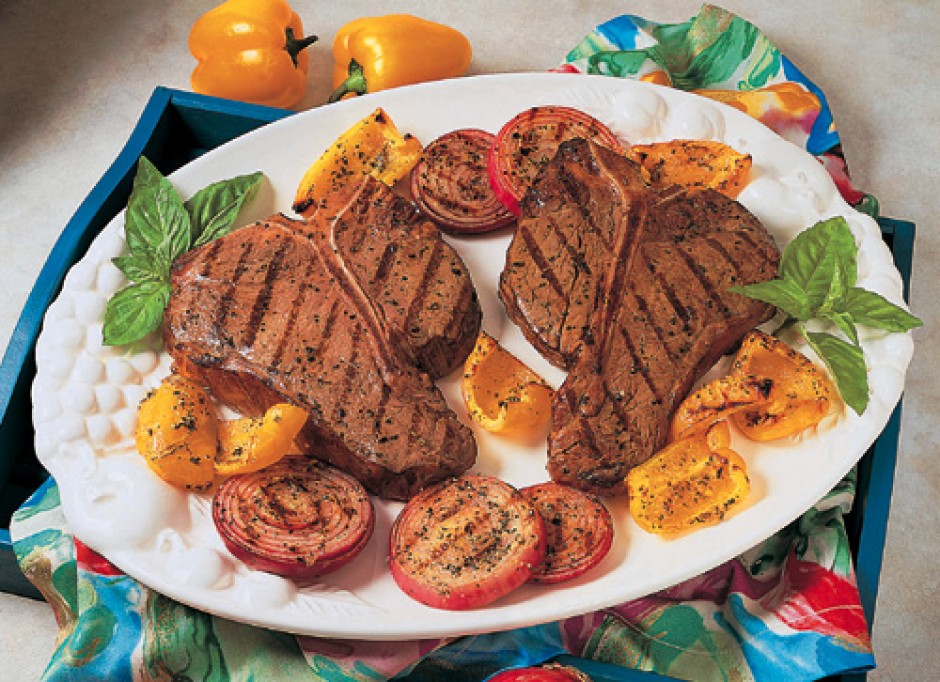


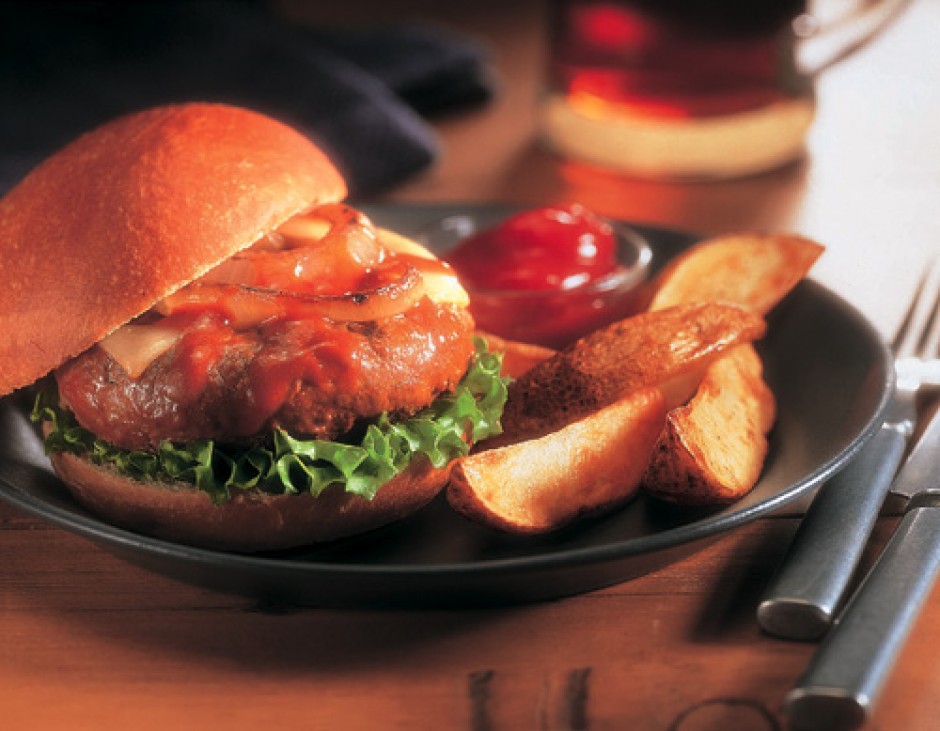
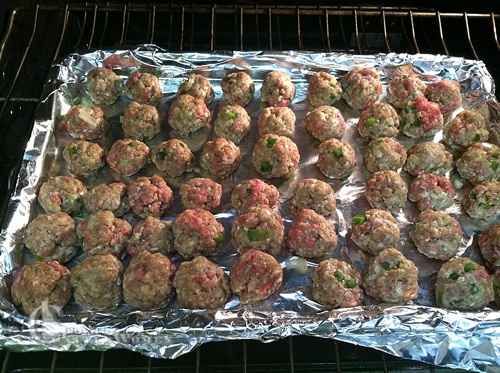
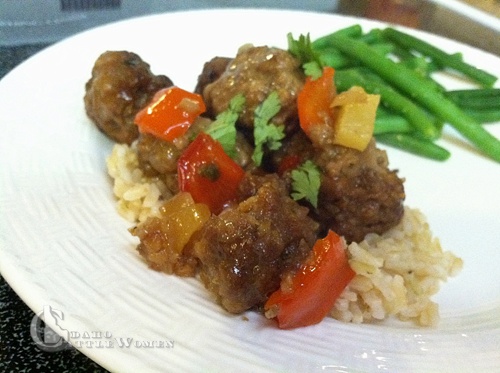
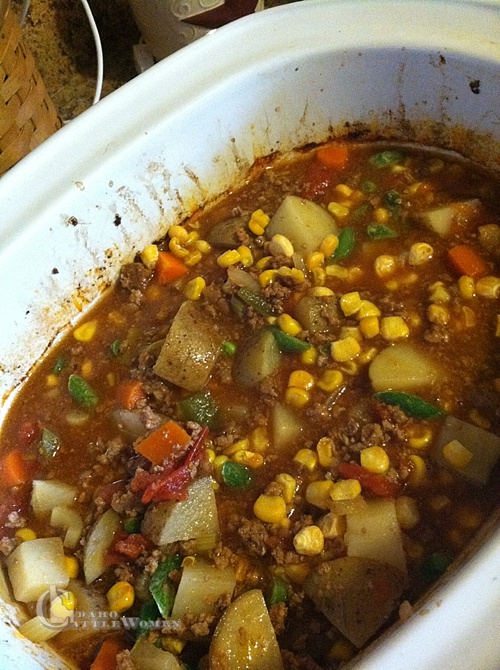
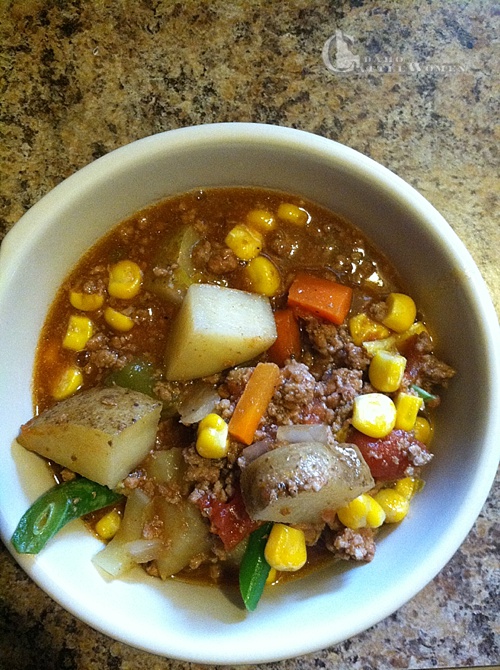
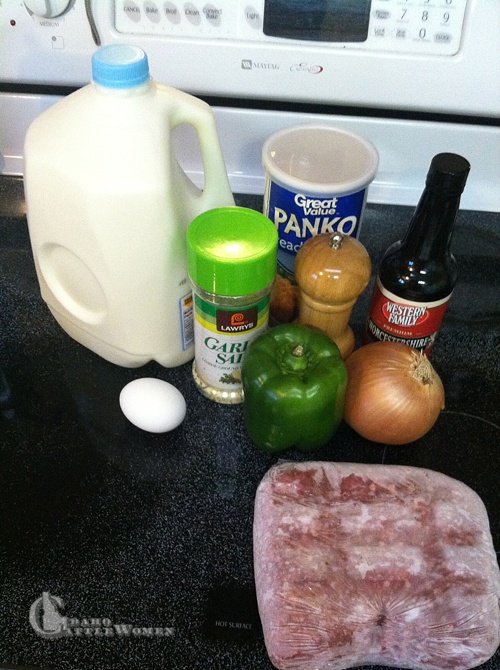 Sweet and Sour Meatballs