Category: Recipes

Plum Crazy… About Plum Jelly!

Plum Jelly (1)

Fall means so many things- back to school, crisp mornings, Friday night football games, and some beautiful new colors. At my house it also means its harvest time! We take whatever we can get and either can it or freeze it. We don’t do anything too crazy, but maybe some day I’ll get a little wild!

The craziest we got this year was picking some plums for plum jelly. Actually, a LOT of plums.  We have a beautiful little plum tree on the ranch, but after an unfortunate meeting with Grandpa, it doesn’t produce well… or like at all. A few years ago I got a few and was TICKLED to make plum jelly. Unfortunately my blonde hair got the better of me and I was so distracted that the juice scorched and was ruined! No plum jelly… Ever since then I have been dying to make some.

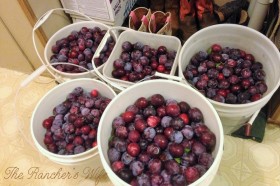
To my delight, there was a friend of a friend (I’ll spare you the details of the connections…) that has a plum tree and asked my mother-in-law and I to come pick them. She pretty well said to pick them all and then dig up the tree and bring it too! I got the feeling she wasn’t too thrilled to have the plum tree in her yard… So we did. We picked and picked and picked. And I might have even shook that little tree just to make the ones on the top come down. We went home with close to 18 gallons of plums! Needless to say, we stopped by the grocery store to stock up on jelly ingredients!

Have you done jelly before? I hadn’t before this little excursion. I usually stick to the tried and true strawberry freezer jam my family loves. I knew it was simple, but I didn’t realize just how simple. Before I share our jelly recipe there are two things you gotta know about this cook- first that you can find this recipe with your pectin… that’s all I did! And second- I don’t always follow the rules. Yes, sometimes it’s to my detriment, but for the most part it works out great!

Ready to “make” some plum jelly?

Step 1- Pick plums… duh… I don’t recommend doing it in the middle of a thunder storm.  There might be a crack and a flash all at once while your standing on an aluminum ladder under a tree… Probably not the best choice…

Plum Jelly (2)

Step 2- Wash the plums… kinda self-explanatory.

Step 3- This is one of those times that I went my own way. I borrowed all the juicers of the valley (actually just from Grandma and mom-in-law) to do all the work for me. You just dump the plums in and as they heat up from the steam coming from the bottom, they release their juice. Awesome. Another way to do it (if you don’t have a juicer) is to cook the plums with some water and put the cooked fruit in some cheese cloth. And then squeeeeeze the fruit to get the juice out and let it drip for a while to get the last bits. I don’t really have the patience for that…

Step 4- Now that you have your delectable plum juice you can get to work on the jelly. Now, the instructions in your pectin packet will tell you NOT to double the recipe. I’m not giving you permission to break the rules, but just know that I did and it turned out fine, every time. If you are going to double it, get a big pot. Like maybe your canning pot. If not you will boil over and have a sticky mess. Learned that one from experience… Measure 5 1\2 cups of juice, pour into your pot and combine with one package of pectin powder. Bring the juice and pectin to a roaring boil (I know it is really a rolling boil, but doesn’t it sound like it is roaring?) while stirring all the time.

Small side note- you know how the saying goes that a watched pot never boils? How are ever supposed to get to boiling if you have to stir constantly? Ok, back to the jelly…

Step 5- Add 6 ½ cups of sugar to the juice and return to boiling. Still stirring, but maybe with your eyes closed so you don’t watch the pot…. Ok, not funny, I know…. Boil for two minutes and head to your jars to start filling them up… promptly. If you wait long, the jelly will begin to set a little. Scrape off the foam from the top of the jelly and then pour into the jars, leaving ¼ inch head space.

After filling all the jars, wipe the tops, put on hot lids and rings, and place in water boiler canner. Once the water has reached boiling temperatures, process for 5 minutes.

Plum Jelly (3)

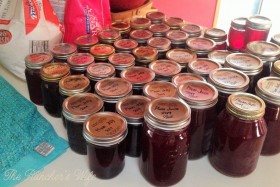
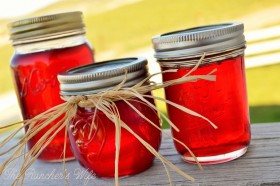
And Ta da! You have fresh plum jelly. Delicious, fresh plum jelly. In fact, you might want to go make some fresh bread to enjoy your delightful jelly (and not feel guilty eating the jelly straight from the jar!).

Plum Jelly (4)

Fresh Plum Jelly

5 ½ C. Fresh plum juice

1 Pkg. (1 ¾ oz.) Powdered fruit pectin

6 ½ C. Sugar

Collect 5 ½ cups of plum juice from the plums, approximately 5 pounds. Combine juice and sugar in a large pot and bring to a boil while stirring constantly. Add sugar and return to boil while stirring. Boil for 2 minutes. Immediately remove from heat and spoon of froth. Pour jelly into prepared sterile jars, leaving ½ inch headspace. Clean off rims and adjust lids and rings. Place in hog water bath canner and cover with water. Bring to a boil and process for 5 minutes. Yields 6 pints.


Hi! I’m Allison. I’m a busy wife and mom of two, living life on the ranch in Holbrook, Idaho where our family raises Black Angus cattle. Growing up on a ranch, I always knew that I wanted to live this life and raise my family on the foundation of country living and hard work.  Whenever I can, I gather my kids and my camera to head out to work with my husband. At the end of the day, there is nothing more than spending time with my family and sharing our ranch lifestyle. Come and see more of me at The Idaho Rancher’s Wife!
Categories: Blogging, Idaho Cattlewomen, Ranch Life, Recipes

Let’s Grill Beef ~ Carne Asada

With Labor Day quickly approaching, we thought we’d share another beef recipe. And rest assured, Idaho’s ranching and cattle feeding families are always working hard to bring you healthy and delicious beef for you to enjoy!

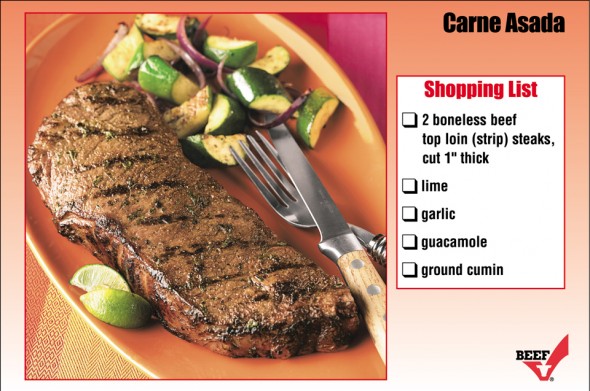
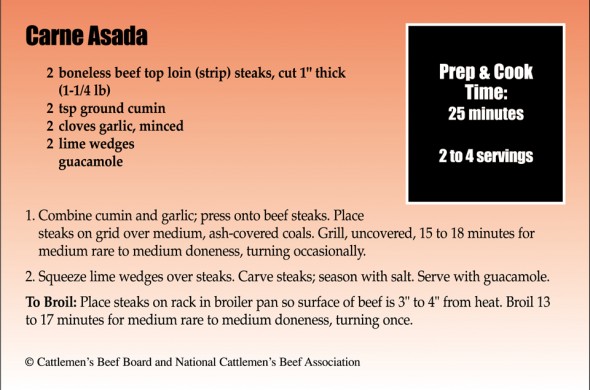
Here is a quick and easy carne asada recipe. We love how simple it is and lets the wonderful taste of beef shine through. Cumin gives it a smoky flavor and who can argue with the combo of garlic and lime?!

This is really versatile too and can be used with any cut for grilling. Slice it thin and serve over rice or in a homemade tortilla.

Wishing you a Happy and Safe Labor Day Weekend!

webCarneAsadawebCarneAsada_2

Categories: Beef, Blogging, Recipes

Steak Fingers…

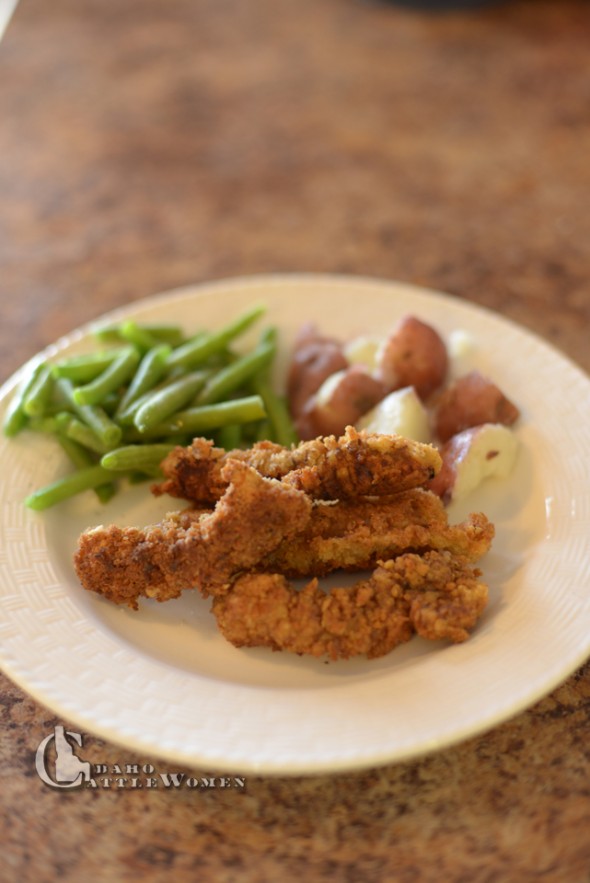
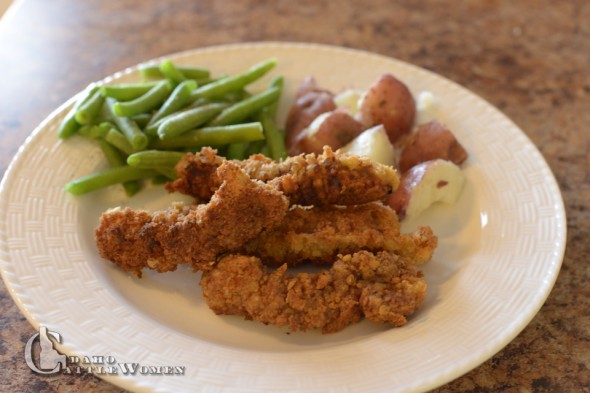
…not to be confused with Finger Steaks if you’re from the West. I’m from the Midwest so I didn’t know what Finger Steaks were until I moved to Idaho. Technically these aren’t the traditionally Finger Steaks recipe, so I’m sticking with calling them Steak Fingers. These Steak Fingers use Cube steak, whereas I believe Finger Steaks use Sirloin steak. Okay, best to just get to the recipe…Finger steaks

If you do an Internet search for recipes for Cube steak, a lot of times you’ll come up with Chicken Fried Steak. I call these the junior version of that.

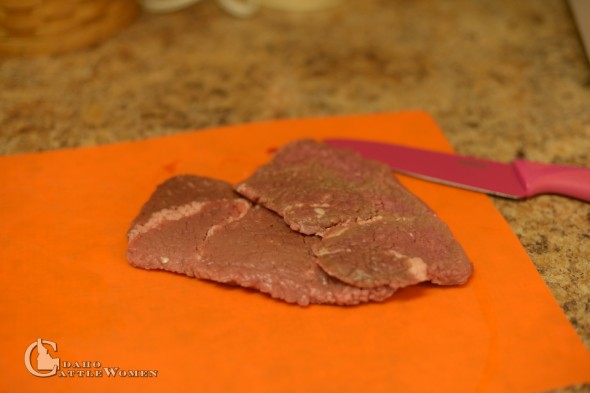
Cube steak is tenderized, rectangle in shape and thin. It’s also economical and relatively lean as it comes from the round. I’ve actually been experimenting to come up with some other recipes to use this cut of beef. I admit, it’s one of the last used in our freezer, but it’s worth giving it a try.

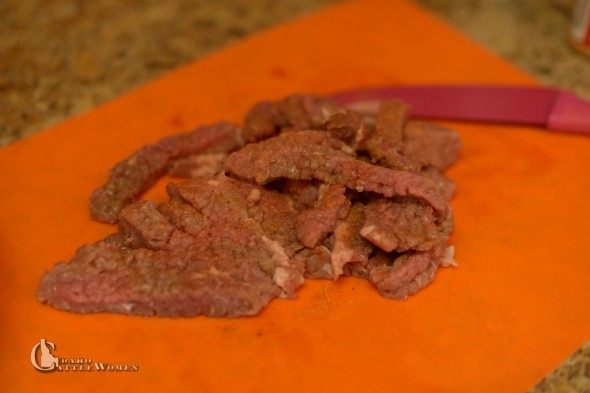
Chicken Fried Steak can seem a little thick and bulky to me at times, so one night I decided to slice up the meat before breading it. It was definitely a good choice. These turned out delicious!

Cube steak

Even though this cut comes tenderized, slicing it helps break down the cut even more. I found the Steak Fingers to be really tender and easy to eat.

sliced cube steak
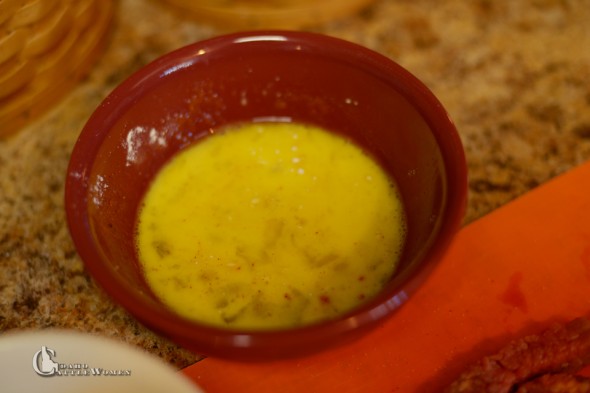
I dipped the meat in a egg wash. I used a 2-3 eggs with dashes of seasoned salt and pepper. You could throw in some cayenne or any other spices you like. This is how I love to cook. A little of this, a little of that. Fortunately this is a recipe that you don’t need exact measurements.

egg wash for cube steak

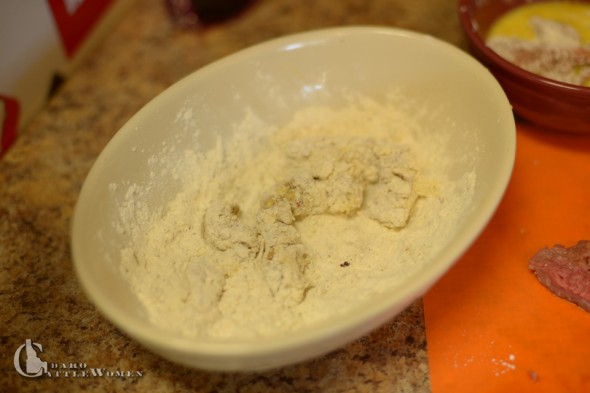
Next I dipped the meat into flour and the same seasonings. Then back to the egg wash and into a third bowl of Panko bread crumbs. You don’t have to do the second dip, but I love the crunch the Panko adds.

flour mixture for cube steak
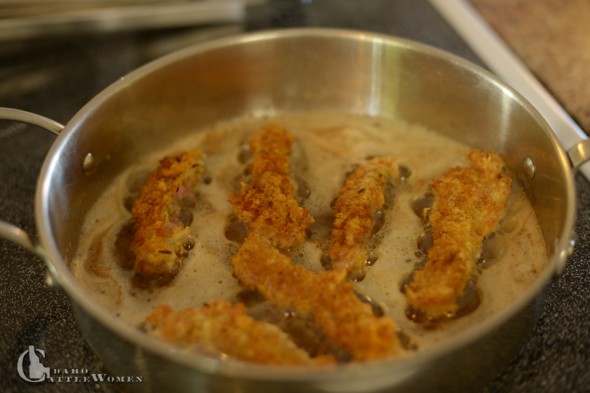
Into the oil they go. Try not to put too many in at once as adding the meat lowers the temperature. You don’t want to crowd them either and have them stick to each other. I just kept an eye on them and turned them when they were golden brown.

frying cube steak fingers
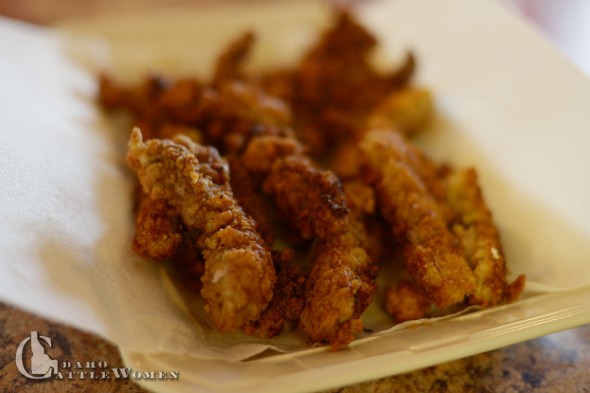
Oh my goodness; just looking at this photo makes me hungry again! They were so, so good.

steak fingers
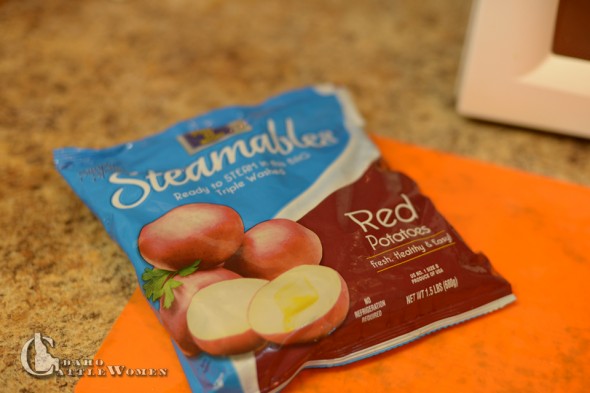
I usually buy large bags of potatoes, but as a busy mom of four, sometimes convenience is the winner. I’ve found these Steamables on sale a few times and decided to give them a try. They were really good, and I did love how quick they were. 6-7 minutes in the microwave. Can’t beat that! They are easy to throw some seasonings on and serve right after cooking. I’ve also smashed them after they were cooked and put them in the oven to crisp them up a bit.

red potatoes
Feel free to pin!

Steak finger dinner_2
If you haven’t tried cooking with Cube Steak, I suggest you give it a try. I’ll have a few more recipes to sharing using this cut of beef too. So whether they are Steak Fingers or Finger Steaks to you, these are definitely good to eat!

~Maggie

Categories: Beef, Recipes

Grilled Skirt Steak

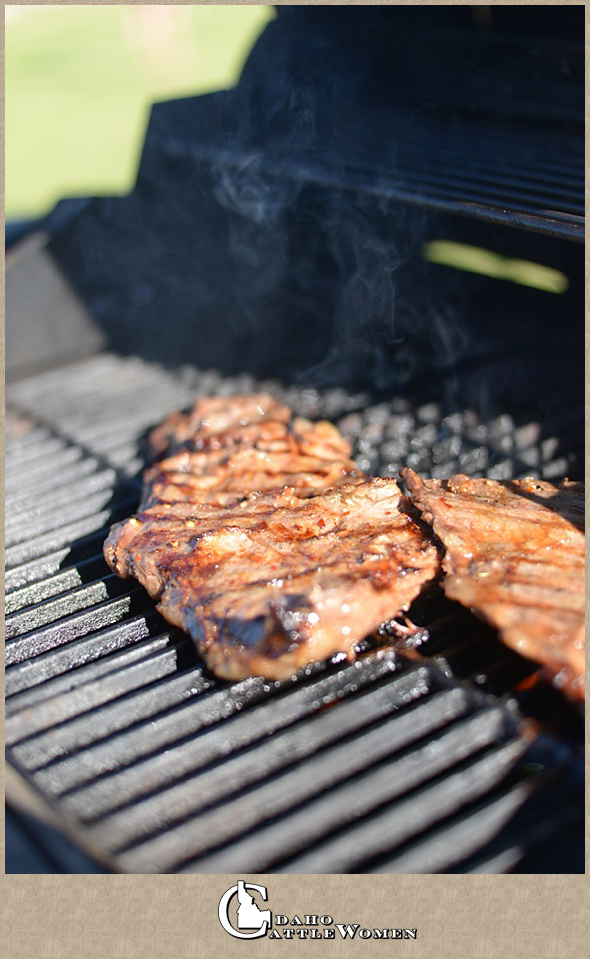
skirtsteakongrill_ICW

One cut of beef that isn’t talked about a lot, but is delicious and easy to prepare is skirt steak. This cut is sometimes called Hanger steak. In fact, it’s one of our favorites of the less utilized cuts of beef. Skirt steak comes from the plate or the belly of the beef animal. It’s great for making stir-fry or fajitas, or just slicing thinly and eating. Skirt steak isn’t super tender, but it’s flavorful. It works best if it’s marinated prior to cooking. Most of the time I just pour some things together to form a marinade—some spices, a little oil and some sort of acid like juice or vinegar. This time I asked my daughter to look up a recipe and see what she could find. She found one on the Food Network and it basically is everything I already used, but it gives some actual measurements. Here are the ingredients:

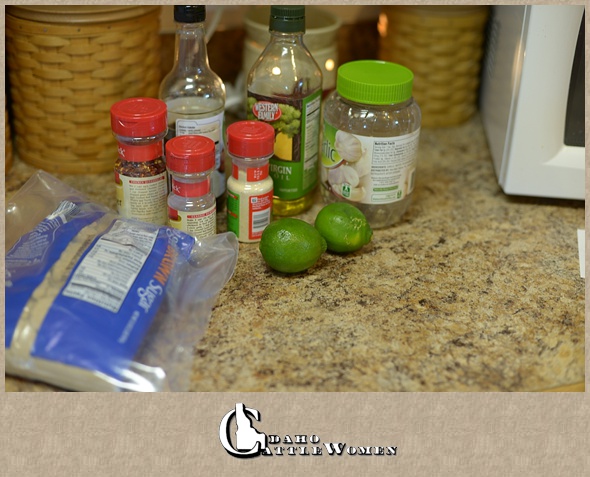
1/2 cup olive oil (I don’t use this much-more like 1/4 c.)
1/3 cup soy sauce
4 scallions, washed and cut in pieces
2 large cloves garlic
1/4 cup lime juice
1/2 teaspoon red pepper flakes
1/2 teaspoon ground cumin
3 tablespoons dark brown sugar or Mexican brown sugar (I used light because it’s what I keep on hand)
2 pounds inside skirt steak, cut into two equal pieces

The directions say to mix all ingredients then blend until smooth. We’ve actually made this recipe twice so far. We really like the combination of flavors in this marinade. It has a little sweetness, but with a kick. *The second time I made it I didn’t blend the ingredients, which I really do recommend. They combine better and give the meat even better flavor.*

skirtsteak_0004

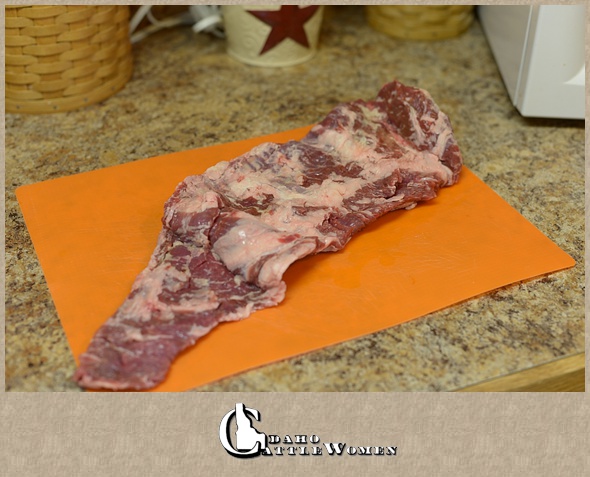
This is what the skirt steak looks like. I usually slice it in two pieces. It makes it easier to fit in the plastic bag to marinate and it fits on the grill better. In the essence of full disclosure, we have a freezer full of beef, so I don’t have to buy meat at the store. I do, however, enjoy looking through the meat counter to see what they are offering. I did look at one of the local groceries this week and skirt steak was selling for $6.98/lb. I saw packages ranging from .87 lb. to 1.28 lbs. Two pounds of meat easily feeds our family of six.

skirtsteak_0005

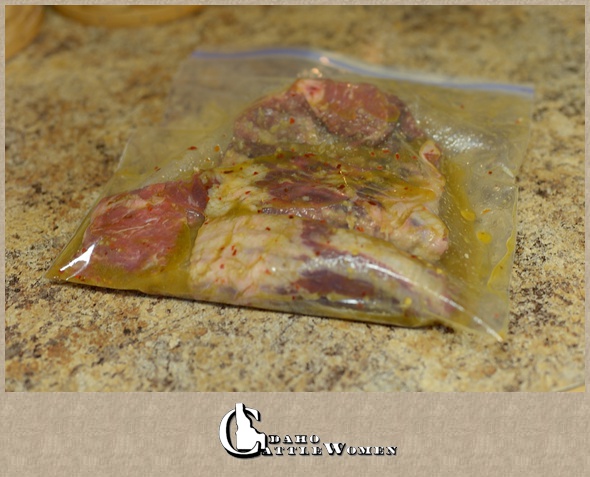
After meat is split, I drop it into a large plastic baggie then pour in the marinade. I close it up tightly to get all the air out, move the bag around to coat all the meat, then place it on a plate in my fridge to marinate.

skirtsteak_0010

I usually marinate meat either all day and sometimes overnight. I try to plan meals so that I thaw meat first thing in the morning, then it can marinate in the fridge during the day so we can cook it that night. Sometimes I’ll prep a few meat dishes at the same time then all I have to do is grab them from the fridge each night and they are ready to cook. This recipe said to marinate at least one hour.

We have a gas grill so my cooking method was different than the original recipe. I took the bag out of the fridge to come up in temperature while I lit the grill. You don’t want very cold meat to be thrown directly onto a hot grill. I light the grill and let it heat up to 375-450 degrees. If you can hold your hand about five inches over grill for about 4-5 seconds, it’s hot enough. I put the meat on then I DON’T TOUCH IT! I want to wait long enough for the meat to get a good sear on the first side and not stick to the grill before I turn it. This usually takes 7-8 minutes, depending on the thickness of the meat. Once it is nice and brown, turn it over and repeat on the other side. You can use a meat thermometer to get an accurate measure. (For rare, remove the steak(s) at 120°F – 125°F; medium rare 125°F – 130°F; medium 130°F – 135°F.)

If the meat is browned properly on both sides, but not quite cooked enough in the middle, I’ll place it to the side and shut off one burner then close the lid to let it cook a little longer.

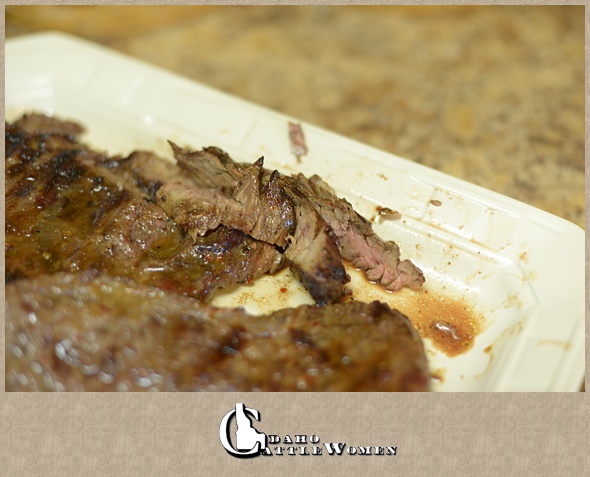
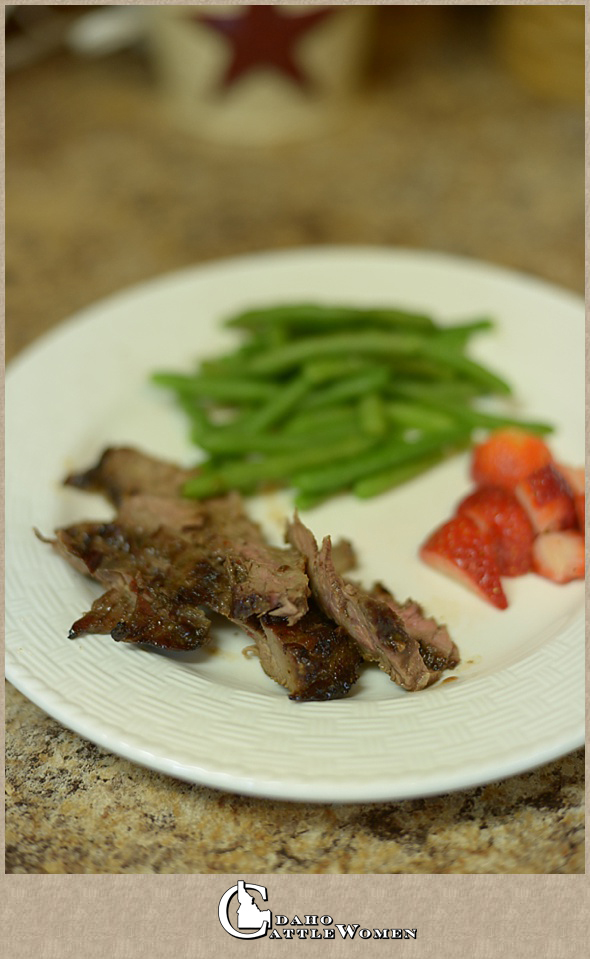
Once it’s ready (we like our meat medium to medium rare), I’ll take it off grill and let it rest on a platter so juices can redistribute. Then I slice it thinly and against the grain of the meat. (If the meat gets long and stringy, chances are you’re cutting with the grain.) Now you’re ready to enjoy!

skirtsteak_0011  skirtsteakonplate_ICW

I hope you try this recipe and enjoy!

skirtsteak_ICW

We found the original recipe here at this link, and we adapted from it.

http://www.foodnetwork.com/recipes/alton-brown/skirt-steak-recipe.html

From our ranch to you, we wish you a fun weekend!

Categories: Beef, Recipes

Pepper Planting and Fiesta Beef Bells

I’m the kind of person who thinks that everybody has something that they “nerd out” about. You know, the thing people have that deep, fiery passion for, and will never be able to learn enough about. For some it’s a general topic, such as sports; for others it’s something much more specific, like knowing every possible factoid about Abe Lincoln.

I have a few different subjects I enjoy learning about, one of which is agriculture…what a surprise 🙂 I find it absolutely fascinating that I’ve been in the ag industry for 24 years and STILL have crops or animals that I know hardly anything about! Dairies, flower farms, orchards, wineries…you name it, I want to tour and learn more about it!

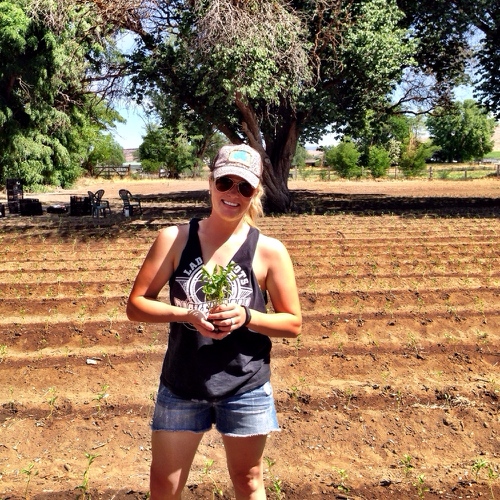
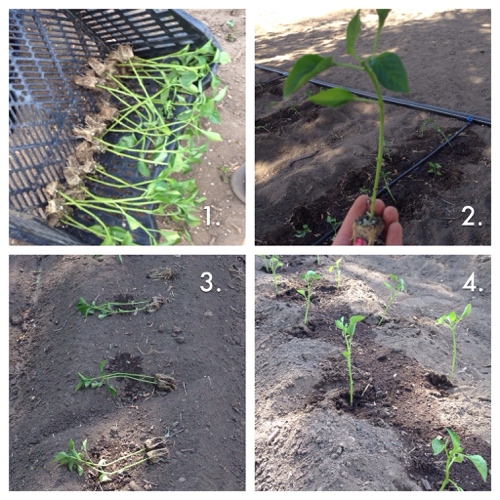
Earlier this week, I got to do just that! All of our work at home was caught up, so we spent the morning helping some friends, T&C, plant bell peppers starts, by hand! There are implements that can do a majority of the work, but in this field, a tractor would have done more harm than good. In the three hours we were there, we managed to plant more than 2,000 starts!

When these little guys start producing, T&C will sell them to smaller markets in the Treasure Valley. They expect to yield an average of 5 peppers off each plant, although others in the area have seen as many as 8-10.


1) First, we sorted good starts from bad starts, making sure that only healthy starts get planted. Here you can see some of the starts that made the cut. 2) An up-close shot of a pepper, before planting. 3) One person walks ahead of the planter, dropping two starts down. An underground drip line will water these for the duration of the summer. 4) The finished project!


So how is this related to cattle? A recipe, of course! I’ve been dying to make some beef-stuffed bell peppers, so this gave me the perfect excuse!
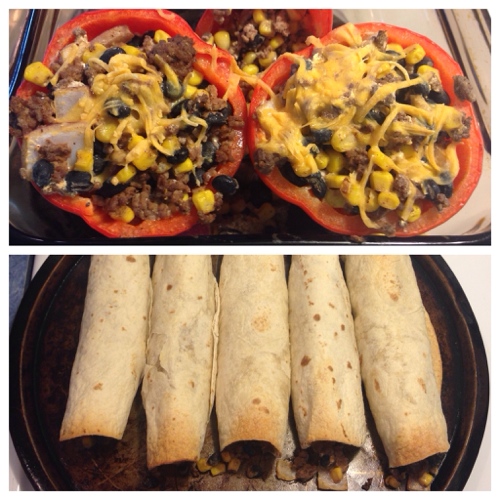
  Fiesta Beef Bells

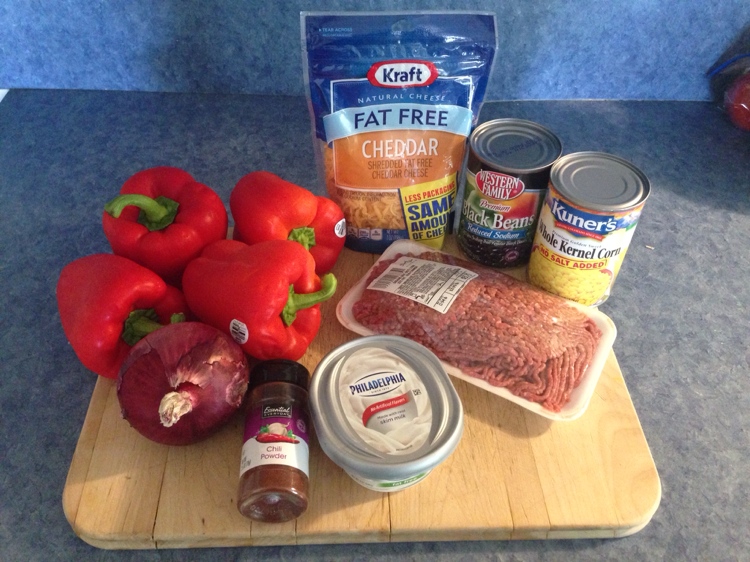
 •1 lb ground beef

•4-6 large bell peppers, halved and deseeded – I ended up using 3

•1/2 onion, chopped

•1 can black beans, rinsed and drained

•1 can corn, rinsed and drained

•4 oz. Cream Cheese

•1 cup of shredded cheese

•Chili Powder, to taste


Even thought they have a short list of ingredients, these stuffed peppers are packed with taste!

Preheat oven to 375 degrees.

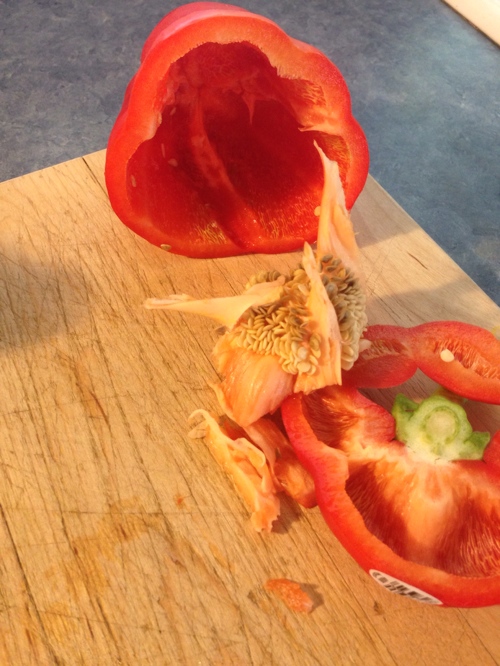
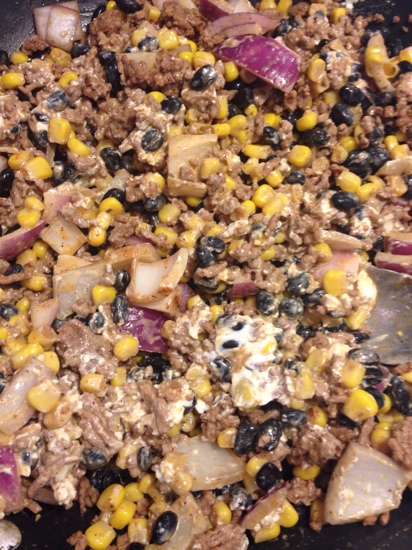
In a skillet, add the ground beef and cook thoroughly. Be sure to drain any grease during this process. While your beef is cooking, take a moment to cut the top of your peppers off, spoon out what’s inside, and rinse them out.

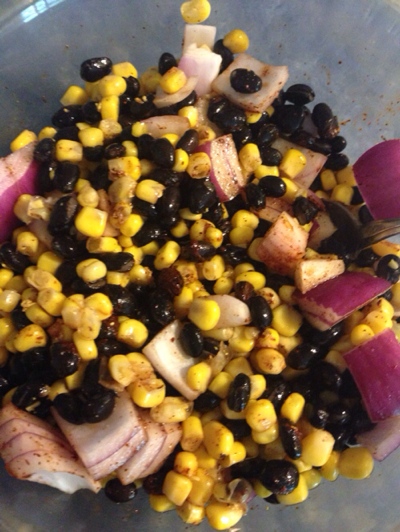
Next, add the corn, black beans, onion, and chili powder to a separate bowl.

Once beef is fully cooked, add the corn/bean/onion mixture to the skillet. Next, add the cream cheese, mixing with the other ingredients until melted.

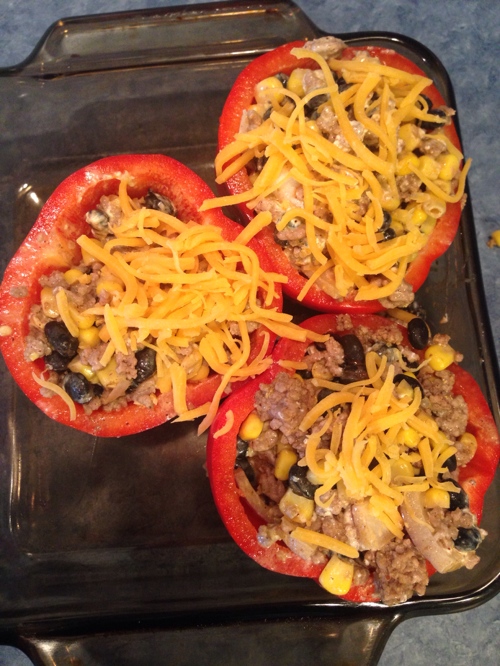
Now it’s time to fill the peppers, topping them off with shredded cheese! Because I only ended up having 3 peppers, I had lots of filling leftover. Instead of letting it go to waste, I grabbed some tortillas, spooned the filling inside, rolled them up, and placed them on their own cookie sheet.

I put both dishes in the oven, cooking them for 15 minutes.


Yummy! You could top with sour cream and a garnish of chopped cilantro if you’d like, or just enjoy as is. They were delicious. Enjoy!

~J


Categories: Beef, Recipes