Sharing Beef

beefsamples

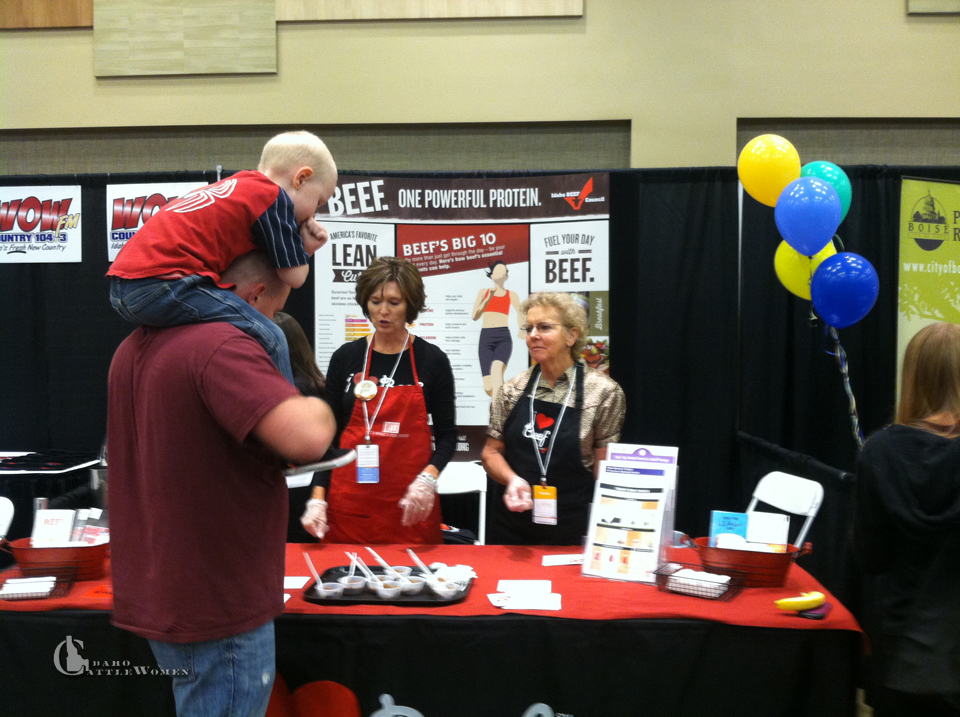
Handing out beef samples at the FitOne Expo.

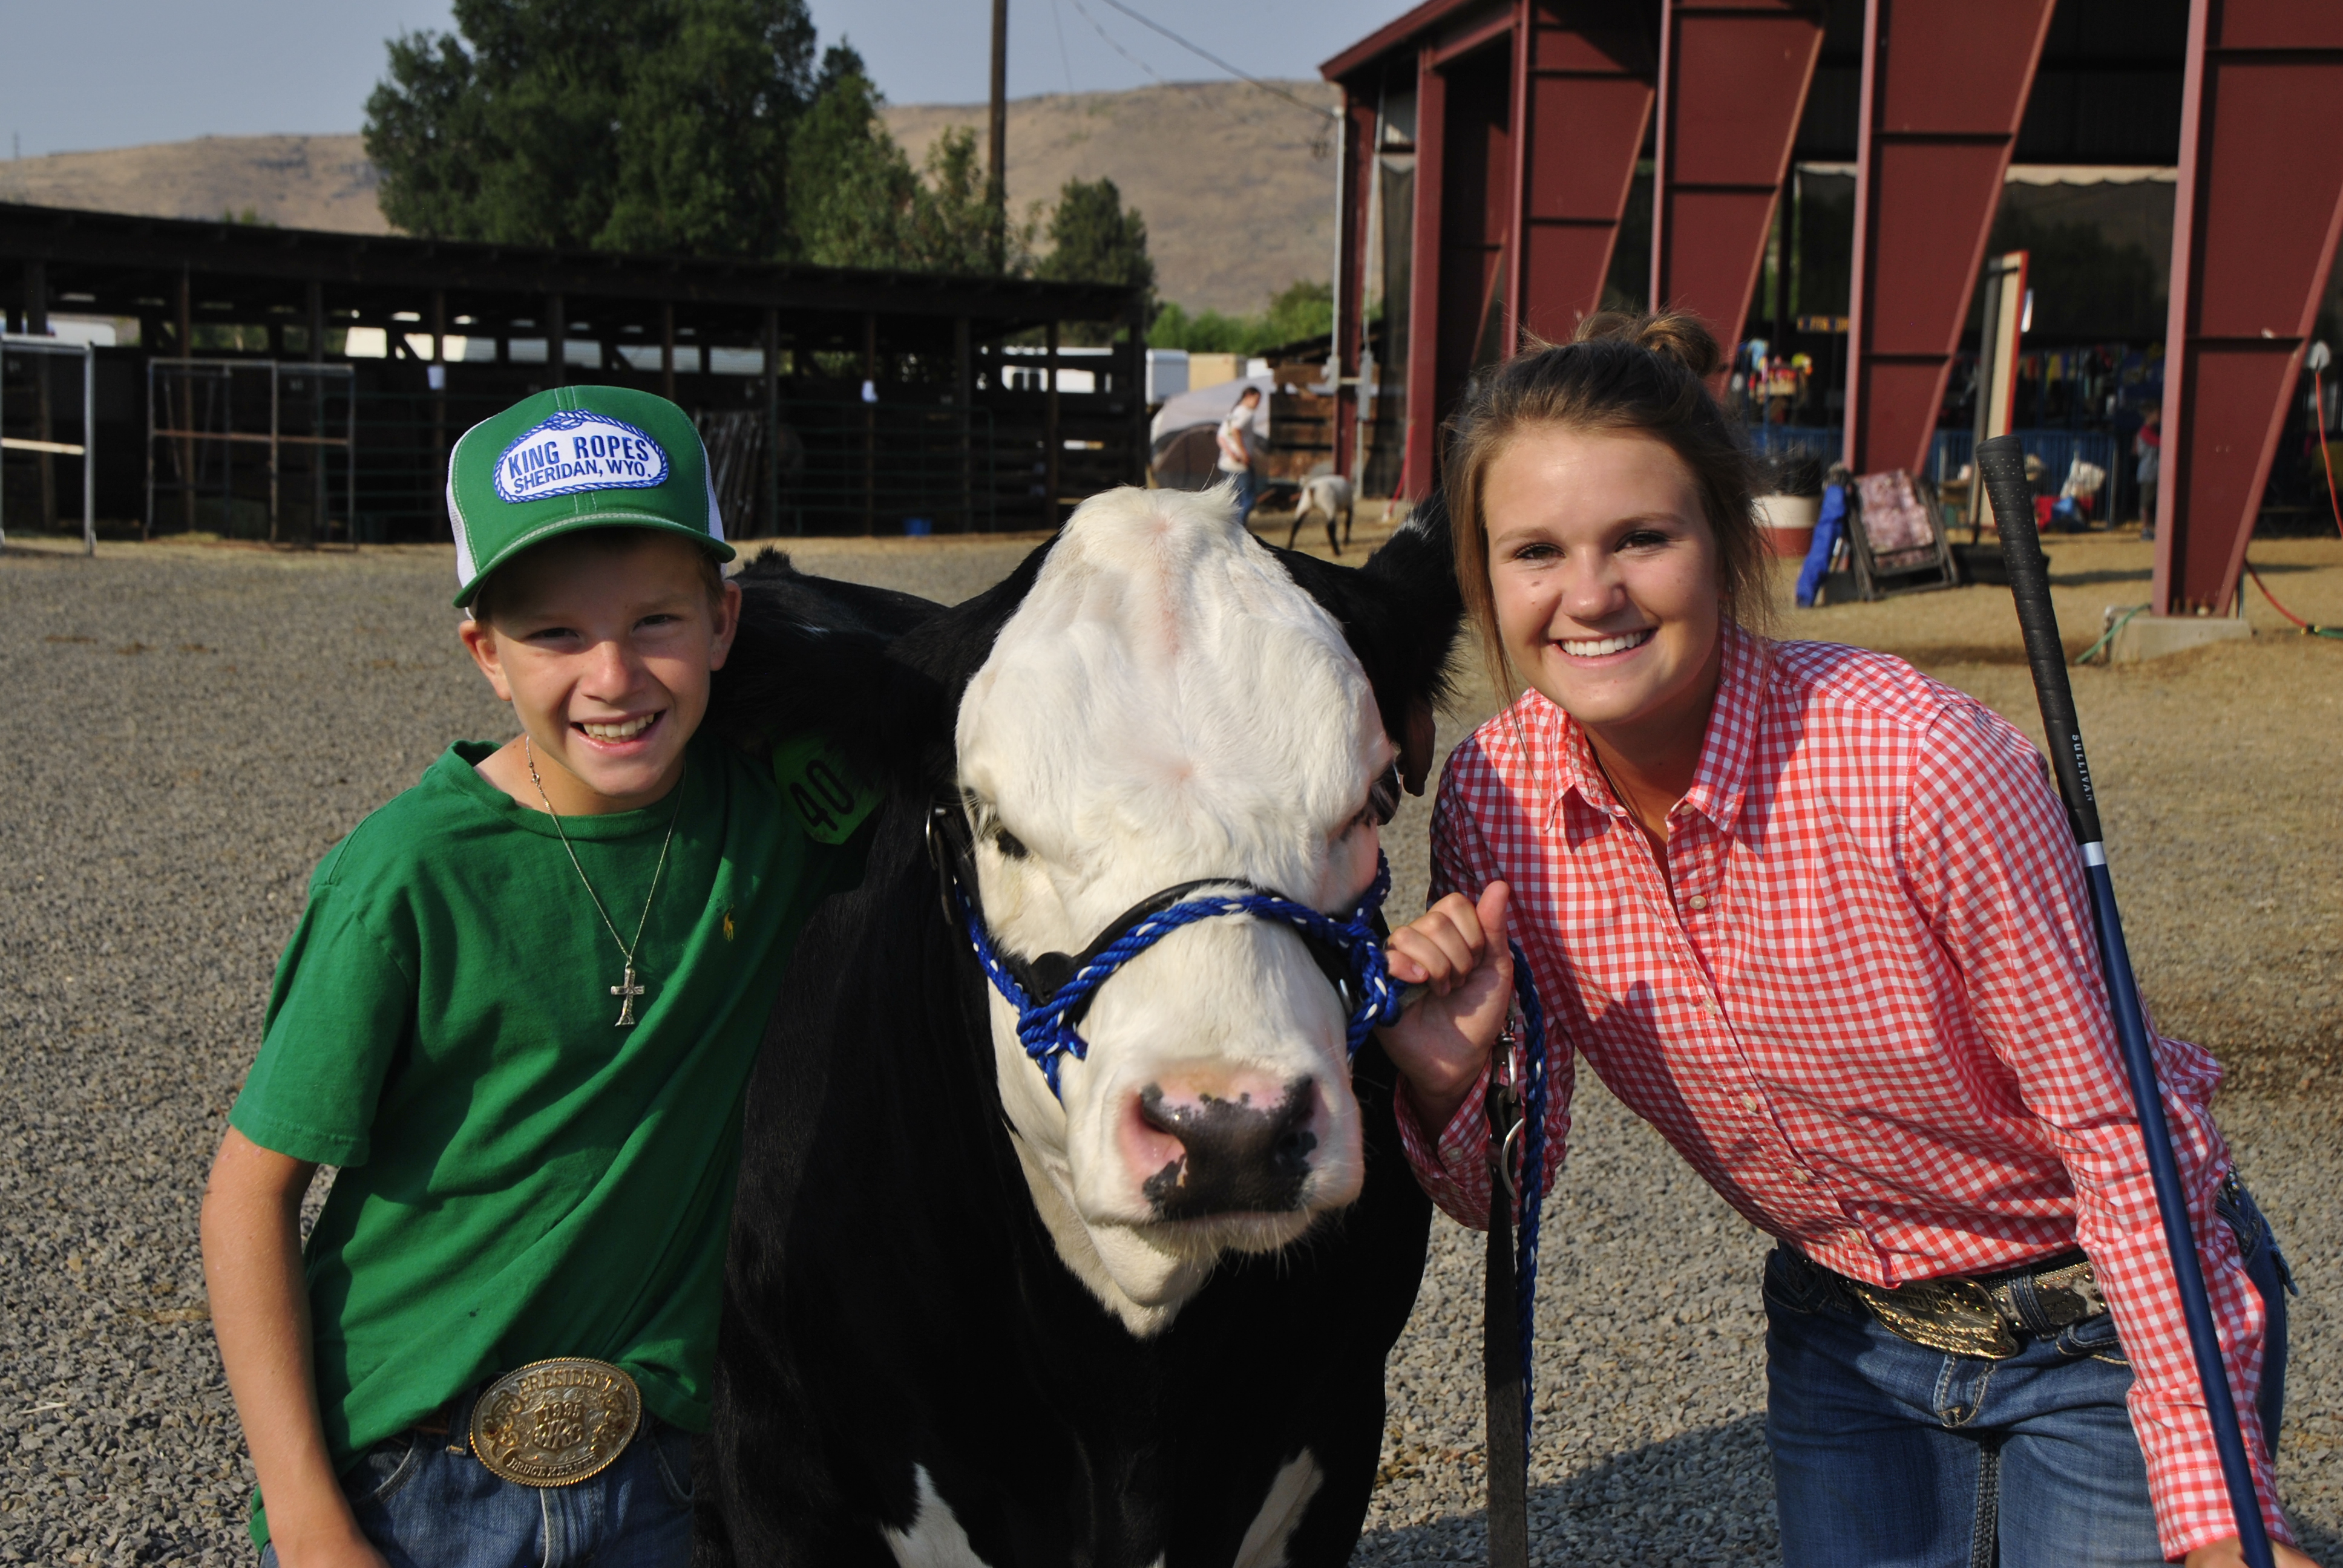
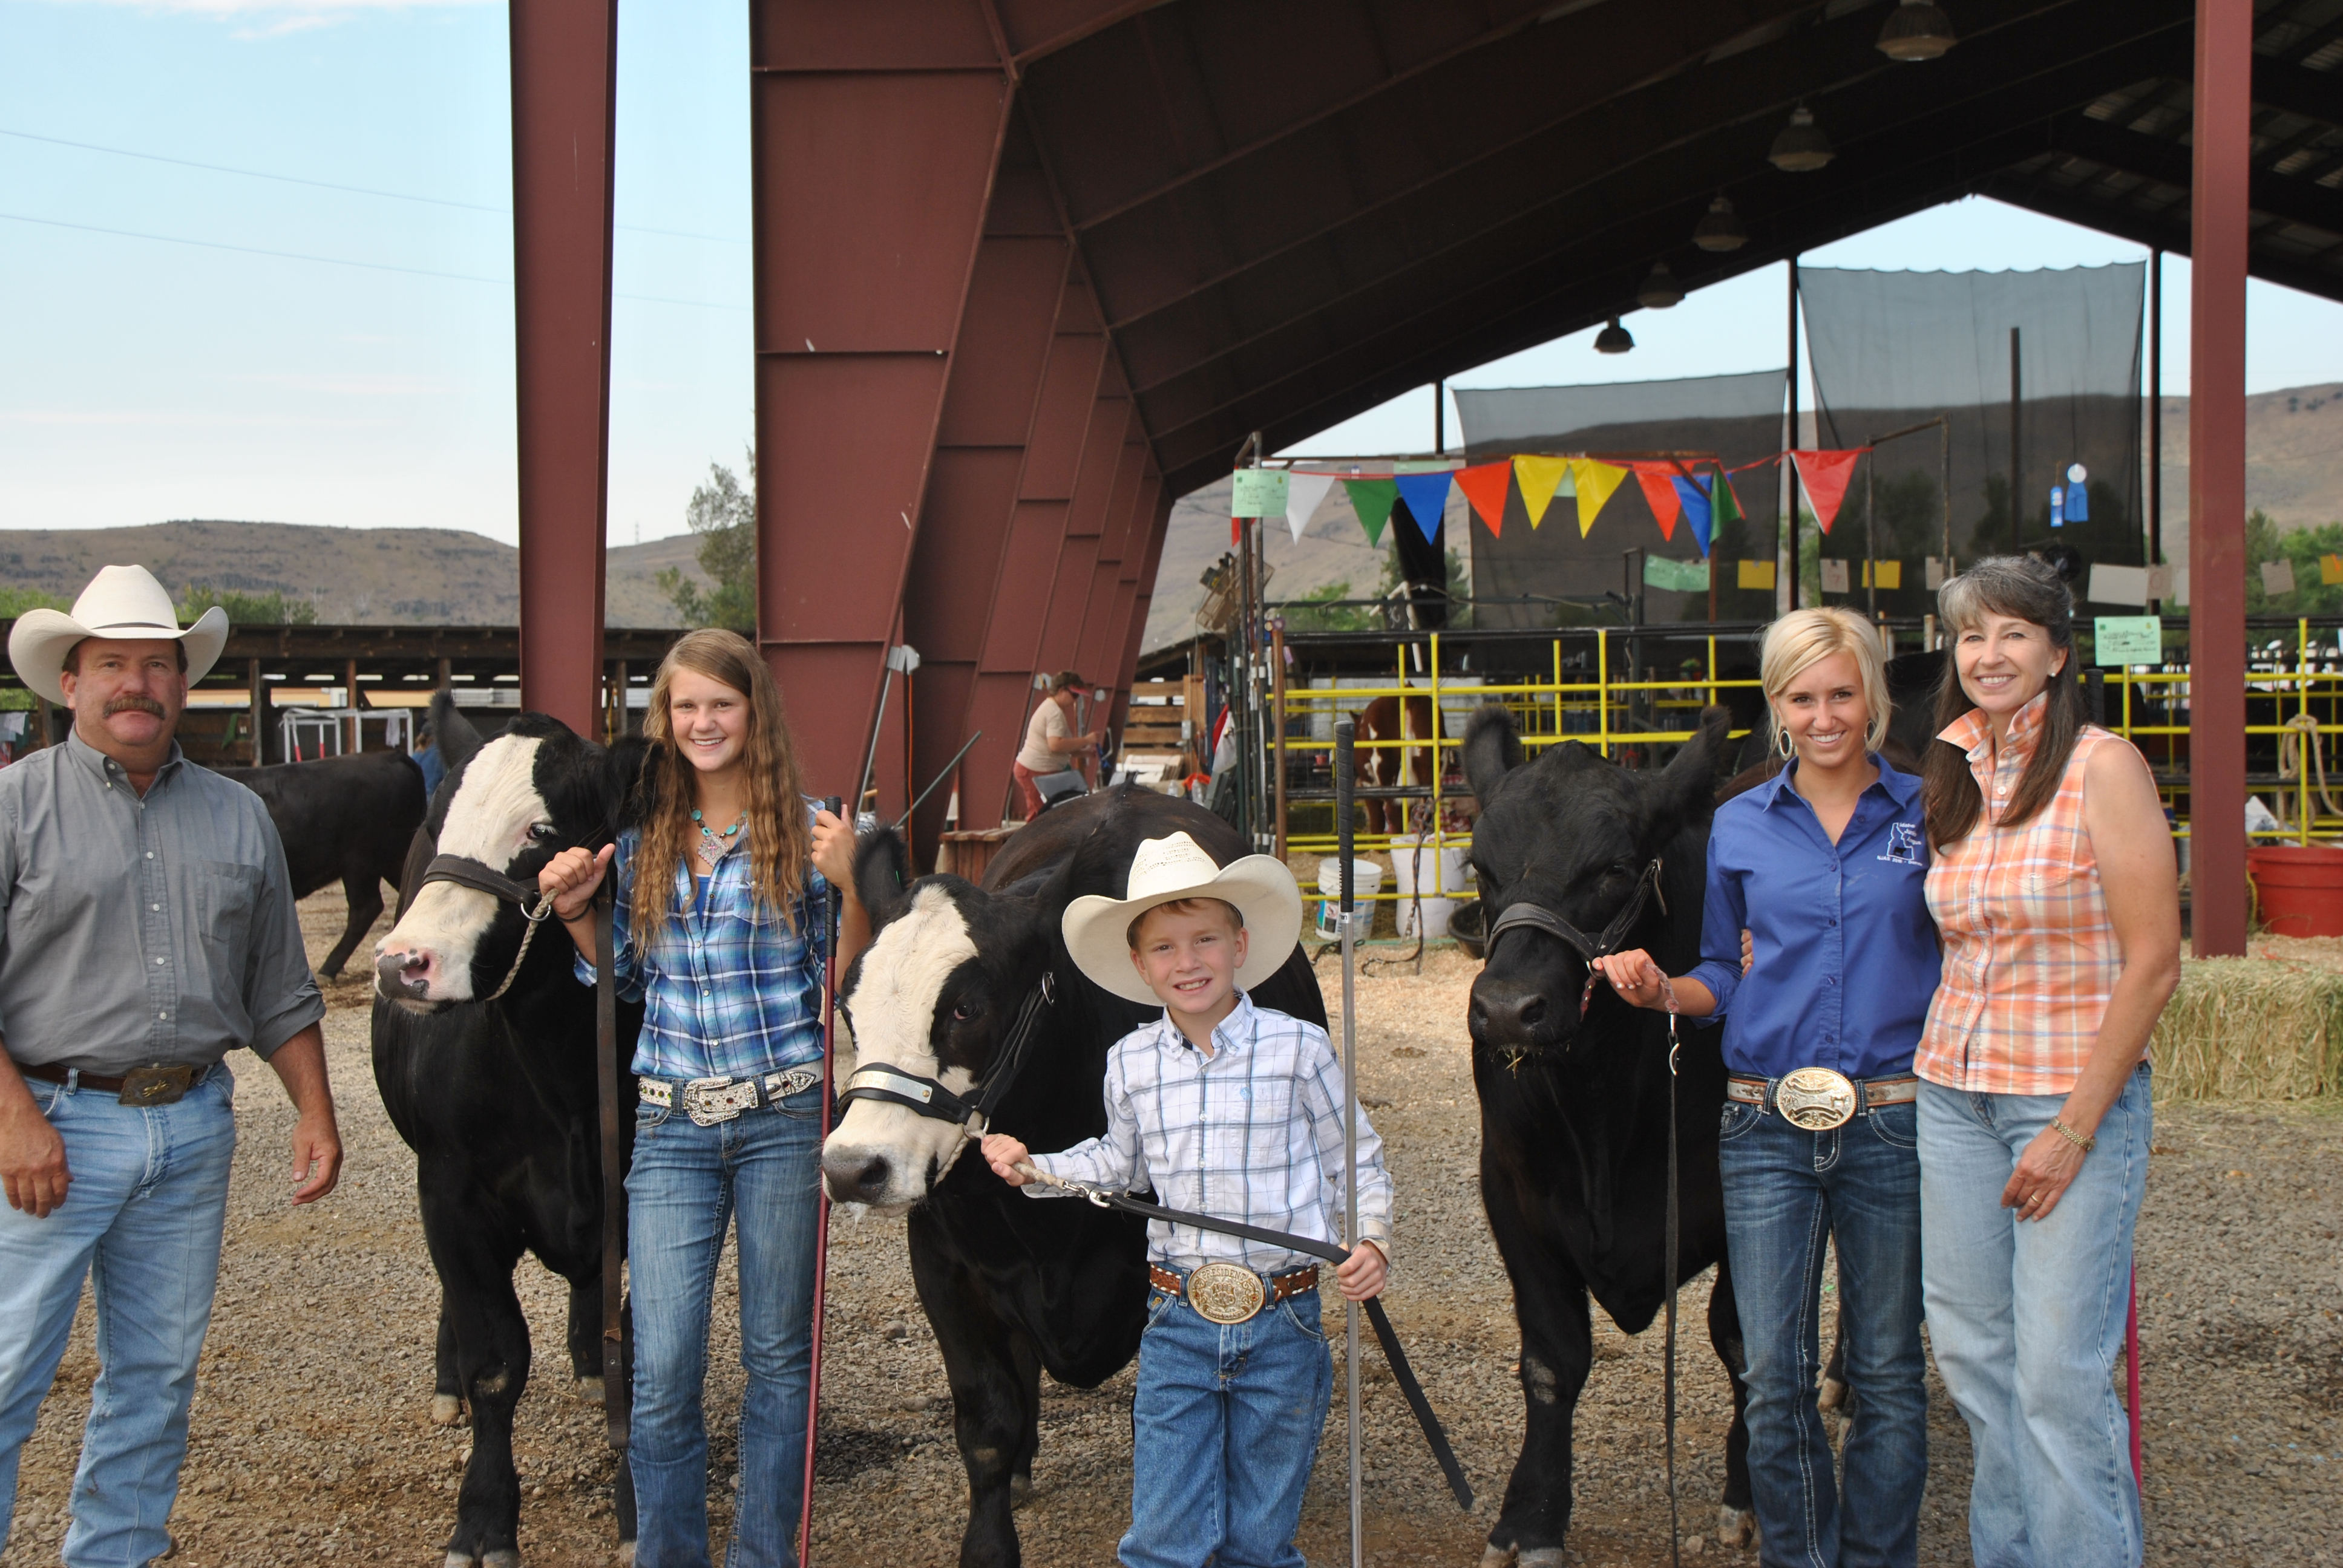
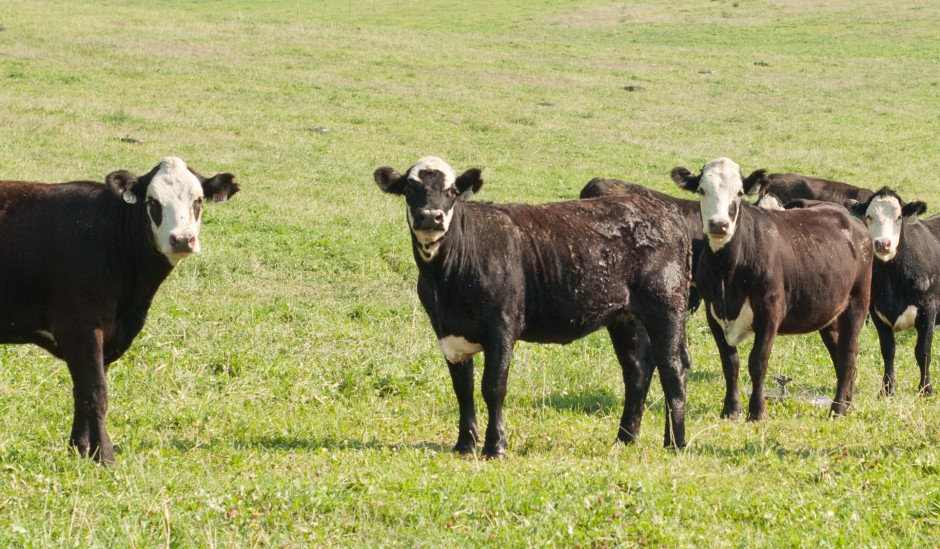
If you follow us on Facebook, you saw some of us cattlewomen joined the Idaho Beef Council in Boise for the FitOne Expo benefiting St. Lukes last week. We stepped off the ranch and into the city to interact with consumers. It was such a great event and we had fun sharing beef samples with the public. Did you know there are 29 lean cuts of beef that fit into a healthy diet? And lean beef is one of the most flavorful and efficient ways to meet the daily value for essential nutrients such as zinc, iron, protein and B vitamins.

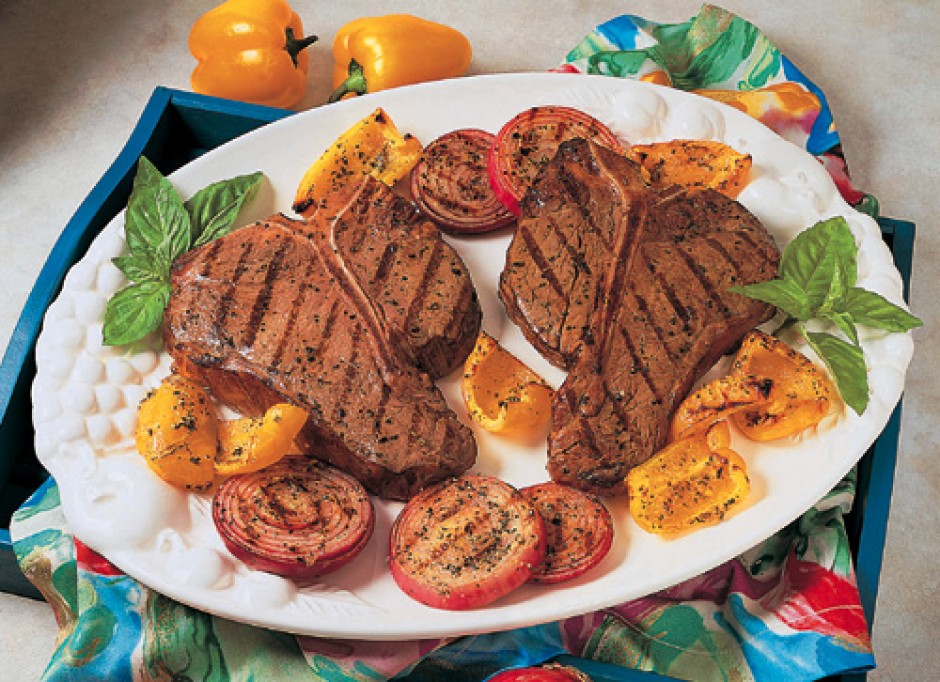
The recipe shared by the Idaho Beef Council is one many of us have used to cook for our own families. It uses an economical cut of beef like the chuck or shoulder roast, and it’s a slow cooker recipe. That makes it easy so you can fix it and forget it. Start it in the morning before work and come home to a great smelling and tasting dinner.

We had so many compliments on the wonderful flavor and tenderness of the dish. From high school football players to small children, parents, grandparents and people of all ages stopped by to grab a sample. The recipe uses simple ingredients people have in their pantries. In addition, there are four additional variations so you can add some other ingredients to give you different flavors. See the complete recipe below.

shreddedbeef

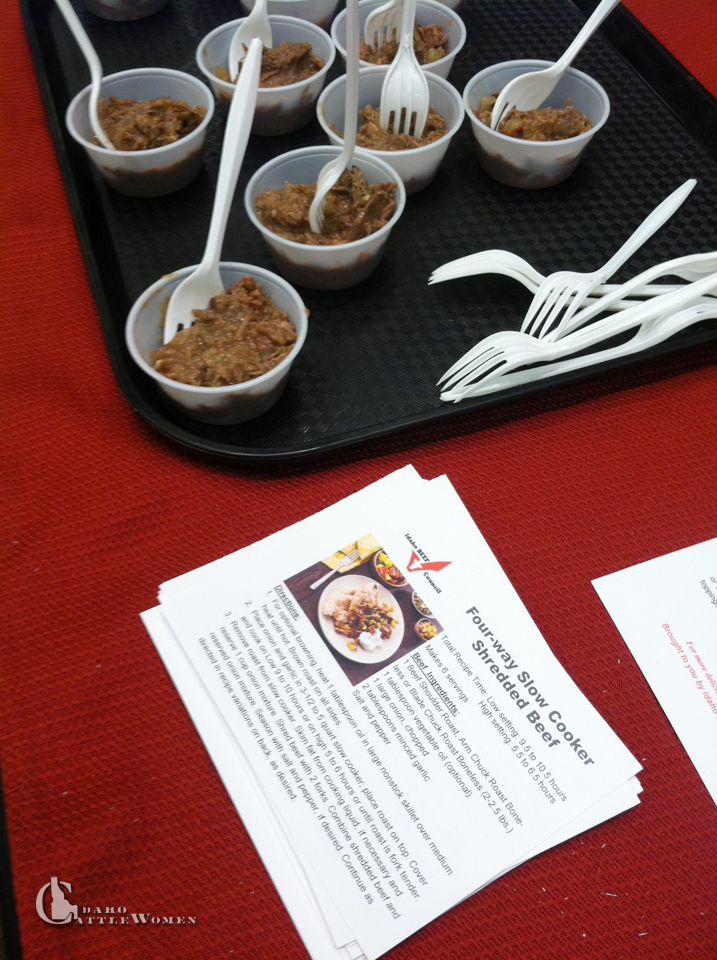
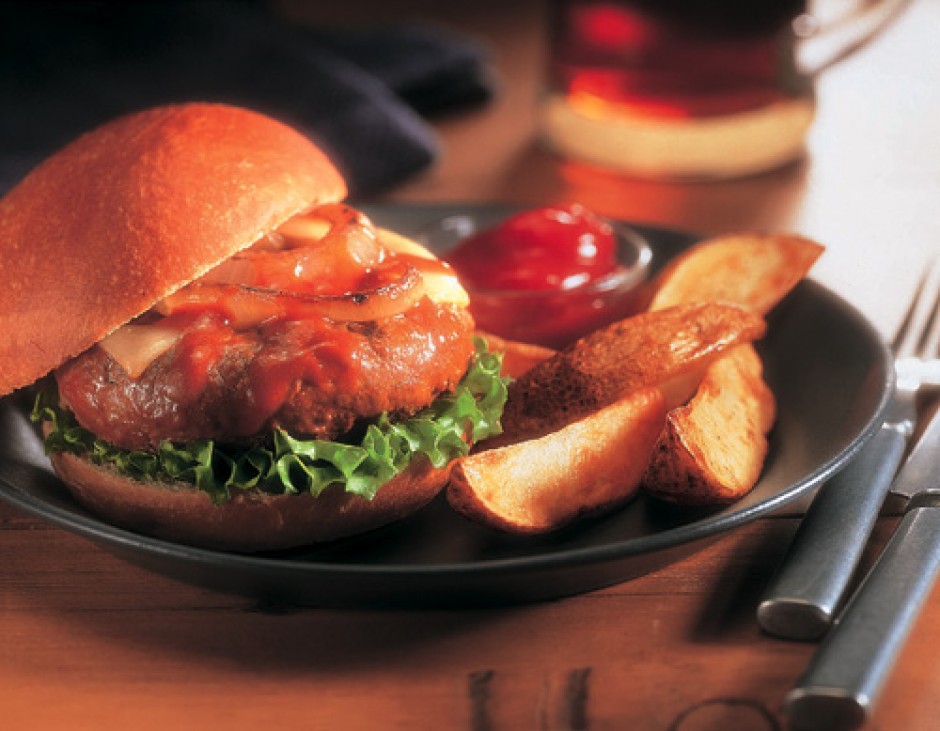
An easy beef recipe using an economical cut of meat.

 Four Way Shredded Beef (A Beef Checkoff Recipe)

  • 1 beef Shoulder Roast, Arm Chuck Roast Boneless or Blade Chuck Roast Boneless (2 to 2-1/2 pounds)
  • 1 tablespoon vegetable oil (optional)
  • 1 large onion, chopped
  • 2 tablespoons minced garlic
  • Salt and pepper

INSTRUCTIONS FOR FOUR-WAY SLOW COOKER SHREDDED BEEF

  1. For optional browning, heat 1 tablespoon oil in large nonstick skillet over medium heat until hot. Brown beef roast on all sides.
  2. Place onion and garlic in 3-1/2 to 5 quart slow cooker; place roast on top. Cover and cook on LOW 9 to 10 hours or on HIGH 5 to 6 hours or until roast is fork-tender.
  3. Remove roast from slow cooker. Skim fat from cooking liquid, if necessary and reserve 1 cup onion mixture. Shred beef with 2 forks. Combine shredded beef and reserved onion mixture. Season with salt and pepper, as desired. Continue as directed in Recipe Variations below, as desired.
  4. Recipe Variations:
    Mexican Shredded Beef: Combine tomato or tomatillo salsa and beef mixture, as desired. Place in large microwave-safe bowl. Cover, vent and microwave until heated through, stirring occasionally. Serve in warmed flour or corn tortillas topped with pico de gallo, slice avocados, shredded cheese, chopped cilantro and/or chopped white or green onions, as desired.BBQ Shredded Beef: Combine prepared barbecue sauce and beef mixture. Place in large microwave-safe bowl. Cover, vent and microwave until heated through, stirring occasionally. Serve on whole wheat rolls topped with creamy horseradish sauce, coleslaw, Cheddar cheese slices, chopped green bell pepper and/or canned French fried onion, as desired.Asian Shredded Beef: Combine prepared hoison or teriyaki sauce and beef mixture. Place in large microwave-safe bowl. Cover, vent and microwave until heated through, stirring occasionally. Serve in lettuce or cabbage cups topped with shredded carrots, sliced cucumber, chopped fresh cilantro or mint, sriracha or crushed red pepper flakes and/or chopped peanuts, as desired.

    Indian Shredded Beef: Combine prepared Indian cooking sauce, such as Tikka Masala or Vindaloo. Place in large microwave-safe bowl. Cover, vent and microwave until heated through, stirring occasionally. Serve in naan or pita bread topped with toasted chopped pistachios or coconut, raisins, Greek yogurt or mango chutney, chopped fresh mint or cilantro and/or sliced cucumber or green onion, as desired.

Not only do we love eating beef in our own homes, but we enjoy sharing recipes so others can provide nutrient rich beef for their own families. Would love to hear if you try this recipe and how you add other ingredients or spices to make it your own!

Categories: Beef, Recipes

Weaning the calves

blackcowcalfpair_LB

Bringing cows off the mountain to wean calves.

September and cooler weather brings changes to our ranch (and many ranches in Idaho). It is the time of the year that we go out to our public Lands grazing range and bring our calves, who were born in February, home to wean from their moms. Our cows and calves spend the summer months out on the range grazing. They are healthy and physically fit as they wander the mountains all summer.

The mornings start early, saddling horses after a warm cup of coffee. We have friends, hired help and range partners that come to ride for the three days it takes to bring our cows and calves to corrals where they can be sorted. Mornings are chilly, but we were fortunate to have days of sunshine.

buildingnewcorrals_LB

Building new corrals so that handling, sorting and loading cattle is more efficient.

The riders split up and ride to different areas to bring the cows down off the mountain into our temporary corrals. Riders come back to cow camp for lunch then head out again and ride until late in the day.

On the final day, we gather all the cows and calves in pasture near cow camp, while trucks arrive and the sorting begins.

dinnertime_LB

Riders spend all day on horseback rounding up the cow-calf pairs, and share meals at the cow camp.

cowsincorrals_LB

Sorting off calves from cows in the corral.

blackcowsincorral_LB

Cows are sent back to the range and calves are sent home to grass or to feedlots.
The calves are sorted by steers (male) and heifers (female). We also have cows/calves from other ranchers, so cattle or sorted out by brand to go to each owner’s ranch.

Our cows get a break from nursing as they are already pregnant with next year’s calf. Our cows will come home and usually find their own way back to the ranch as the day’s are shorter and colder. Once they are home, we will bring them in and do pregnancy checks on them to verify that they are pregnant.

We source verify and are verified natural producers so our calves get EID (electronic identification tags. They are also vaccinated on arrival to the ranch. They are turned out to pasture before they are sold in the fall. We were blessed this year with late summer rain and lots of grass for the cows to eat on the range.

While the cows are at range, there is continued activity at the ranch during summer months. We grow our own feed, alfalfa and oats for the winter months. This year the late summer rains blessed us with lots of grass on the range for the cows to eat, but delayed our cuttiing and baling of hay. It is important to get hay up so that we have regrowth in the fall when the cows and calves do come home.

Weaning time is always excited for Idaho ranchers as we get to see how the calves have grown and how the cows are doing as mommas. We’re always looking at what we can do to change and improve our cattle herds and the beef we produce for our tables and yours.

~ Lyndella

Lyndella and her husband, Stephen, own and operate Challis Creek Cattle. They are first generations ranchers, who began their dream of owning cattle more than 20 years ago after working in other industries. They run their cow-calf operation on both public and private lands, and are committed to improving the land and the animals in their care.

Categories: Beef, Idaho Cattlewomen, Ranch Life

Plum Crazy… About Plum Jelly!

Plum Jelly (1)

Fall means so many things- back to school, crisp mornings, Friday night football games, and some beautiful new colors. At my house it also means its harvest time! We take whatever we can get and either can it or freeze it. We don’t do anything too crazy, but maybe some day I’ll get a little wild!

The craziest we got this year was picking some plums for plum jelly. Actually, a LOT of plums.  We have a beautiful little plum tree on the ranch, but after an unfortunate meeting with Grandpa, it doesn’t produce well… or like at all. A few years ago I got a few and was TICKLED to make plum jelly. Unfortunately my blonde hair got the better of me and I was so distracted that the juice scorched and was ruined! No plum jelly… Ever since then I have been dying to make some.

To my delight, there was a friend of a friend (I’ll spare you the details of the connections…) that has a plum tree and asked my mother-in-law and I to come pick them. She pretty well said to pick them all and then dig up the tree and bring it too! I got the feeling she wasn’t too thrilled to have the plum tree in her yard… So we did. We picked and picked and picked. And I might have even shook that little tree just to make the ones on the top come down. We went home with close to 18 gallons of plums! Needless to say, we stopped by the grocery store to stock up on jelly ingredients!

Have you done jelly before? I hadn’t before this little excursion. I usually stick to the tried and true strawberry freezer jam my family loves. I knew it was simple, but I didn’t realize just how simple. Before I share our jelly recipe there are two things you gotta know about this cook- first that you can find this recipe with your pectin… that’s all I did! And second- I don’t always follow the rules. Yes, sometimes it’s to my detriment, but for the most part it works out great!

Ready to “make” some plum jelly?

Step 1- Pick plums… duh… I don’t recommend doing it in the middle of a thunder storm.  There might be a crack and a flash all at once while your standing on an aluminum ladder under a tree… Probably not the best choice…

Plum Jelly (2)

Step 2- Wash the plums… kinda self-explanatory.

Step 3- This is one of those times that I went my own way. I borrowed all the juicers of the valley (actually just from Grandma and mom-in-law) to do all the work for me. You just dump the plums in and as they heat up from the steam coming from the bottom, they release their juice. Awesome. Another way to do it (if you don’t have a juicer) is to cook the plums with some water and put the cooked fruit in some cheese cloth. And then squeeeeeze the fruit to get the juice out and let it drip for a while to get the last bits. I don’t really have the patience for that…

Step 4- Now that you have your delectable plum juice you can get to work on the jelly. Now, the instructions in your pectin packet will tell you NOT to double the recipe. I’m not giving you permission to break the rules, but just know that I did and it turned out fine, every time. If you are going to double it, get a big pot. Like maybe your canning pot. If not you will boil over and have a sticky mess. Learned that one from experience… Measure 5 1\2 cups of juice, pour into your pot and combine with one package of pectin powder. Bring the juice and pectin to a roaring boil (I know it is really a rolling boil, but doesn’t it sound like it is roaring?) while stirring all the time.

Small side note- you know how the saying goes that a watched pot never boils? How are ever supposed to get to boiling if you have to stir constantly? Ok, back to the jelly…

Step 5- Add 6 ½ cups of sugar to the juice and return to boiling. Still stirring, but maybe with your eyes closed so you don’t watch the pot…. Ok, not funny, I know…. Boil for two minutes and head to your jars to start filling them up… promptly. If you wait long, the jelly will begin to set a little. Scrape off the foam from the top of the jelly and then pour into the jars, leaving ¼ inch head space.

After filling all the jars, wipe the tops, put on hot lids and rings, and place in water boiler canner. Once the water has reached boiling temperatures, process for 5 minutes.

Plum Jelly (3)

And Ta da! You have fresh plum jelly. Delicious, fresh plum jelly. In fact, you might want to go make some fresh bread to enjoy your delightful jelly (and not feel guilty eating the jelly straight from the jar!).

Plum Jelly (4)

Fresh Plum Jelly

5 ½ C. Fresh plum juice

1 Pkg. (1 ¾ oz.) Powdered fruit pectin

6 ½ C. Sugar

Collect 5 ½ cups of plum juice from the plums, approximately 5 pounds. Combine juice and sugar in a large pot and bring to a boil while stirring constantly. Add sugar and return to boil while stirring. Boil for 2 minutes. Immediately remove from heat and spoon of froth. Pour jelly into prepared sterile jars, leaving ½ inch headspace. Clean off rims and adjust lids and rings. Place in hog water bath canner and cover with water. Bring to a boil and process for 5 minutes. Yields 6 pints.


Hi! I’m Allison. I’m a busy wife and mom of two, living life on the ranch in Holbrook, Idaho where our family raises Black Angus cattle. Growing up on a ranch, I always knew that I wanted to live this life and raise my family on the foundation of country living and hard work.  Whenever I can, I gather my kids and my camera to head out to work with my husband. At the end of the day, there is nothing more than spending time with my family and sharing our ranch lifestyle. Come and see more of me at The Idaho Rancher’s Wife!

Categories: Blogging, Idaho Cattlewomen, Ranch Life, Recipes

County Fair Memories

A friend and I were comparing this year’s fair week and its highs and lows. I was posting the kid’s fair pictures when I realized how many years our family has counted the last week of July as “fair week.” Through the tears of record books to stepped on toes, fair week just blended into the ranch’s schedule. . .like calving, branding, turn-out and gathering.

Fair Week 2011 was probably a highlight of all the fairs since we started this in 2000. We celebrated our oldest daughter’s last year, middle daughter’s sixth year and son’s first year. The kids worked together, laughed together and cried together. They continued traditions and started new ones. These pictures tell the story of why we believe in 4-H, FFA and “fair week.”

WCF14-20

From Shane’s first year, the “tradition” of sale day is to glitter the steer’s ranch brand.

2011-38

Shane’s last steer in 2011. There were no tears on this sale day as there were ten years before!

2011-34

Only a big sister could understand how hard it is to sell that first steer. . .

WCF14-13

New memories to add. . .2014.

2011-30

A fair week our family will never forget.

~ Julie

Julie and her family own a cow-calf, yearling operation and custom feedlot in southwest Idaho. She and her husband were raised on livestock ranches and their industry roots run deep. Their children have been very active and involved in the ranch and feedlot, and are developing their own herds of quality cattle.

Categories: Blogging, Ranch kids, Ranch Life

I Can Learn a Thing or Two…

The sun began to peek up over the hill that sits behind our house, and through Mattson’s bedroom window. He jumped up out of bed, with a smile on his face. This was the day that Mattson had worked all summer for—the 4-H horse show! As he catches his horse, I load the truck with the necessities—water, sunscreen, and of course, a comfy lawn chair that I can take a short, much needed nap in when the excitement of a horse show is too much to bare. As I look in the tack room of the trailer, I am pleased and proud of the organization Mattson has on display. Bridles hung neatly, saddle clean and oiled, floor swept and the water bucket and grain ready for reward for a job well done. I can learn a thing or two about his idea of being tidy and neat.

We pull into the arena, parked our truck and trailer next to the neighborhood girl and unload a blue roan gelding who is truly a part of our family. He goes by the name “Cody.” The sun blazing down on us all, I paint the hooves, brush the main and tail and pin the back number on Mattson’s freshly ironed shirt. The new halter is put on and they begin to show in their first class. Calm and collected, in all his classes, he shows his horse like a true champion. He teaching us the importance of having fun, having confidence, and being proud of who he is and what he has. I can learn a thing or two about his discipline and confidence to tackle everyday life.

As the day goes on it continues to get longer, hotter and dustier. Patience is tested, horses are ridden in patterns and parents are smiling as their child rides out of the arena with a red, white or blue ribbon. I remind Mattson to hold his reins steady, sit deep in the saddle, and make sure his horse picks up his correct lead. He reassures me with a smile and a wink, and tells me to relax. I once again am more nervous than he is.  teamsortingteamsortingwinners

His favorite event has finally come—Team Sorting! Mattson is a member of the team who won the county fair and went on to win the State Fair last year. The cows are placed in the lower end of the arena. Mattson and his team members ride in, cinches tightened, and horses’ ears perked up. The team consists of three ranch raised cow kids who have sorted a cow or two before in their time. They begin to ride toward the cows, getting them sorted in order, one by one, with a total of 5. After the dust is settled, and the numbers are tallied, their team is the county fair champion once again. Mattson congratulates his team and the other teams as well. They are excited to compete at state once again. I can learn a thing or two about his sportsmanship in 4-H as well as life itself.

Now we get ready for State Fair……

~ Jayme

Jayme Thompson lives in Shelley, Idaho, with her husband Matt, and their three sons, Jackson, Mattson and Dawson. She was daddy’s little cowgirl being raised horseback on the family cattle ranch in Mackay, Idaho. Matt and Jayme have known each other since their early junior rodeo days. They are both 4th generation ranchers and have a cow-calf and horse operation. Jayme drives school bus, and helps Matt on the ranch in addition to chauffeuring kids. Matt is a custom saddle maker and a video representative for Western Video Market on the side.

Jayme also blogs at Cavvy Savvy, where this post first appeared.

Categories: Blogging, Idaho Cattlewomen, Ranch kids, Ranch Life