Category: Recipes

Four Bean Hamburger Chili: A Year of Beef

Hey there, and welcome to the third installment of our Year of Beef series!

I was planning on making this chili for lunch, but that didn’t end up happening how I had envisioned it. After breakfast I went up to the ranch to finish our year-end books, thinking it wouldn’t take long and I’d be home in time to throw everything in the Crockpot for a couple of hours. But books turned into hauling off dead limbs, and dead limbs turned into calving out a heifer. Justin and I ended up getting home at 11:55, which left me with just enough time to throw some things in the microwave before Noon. 
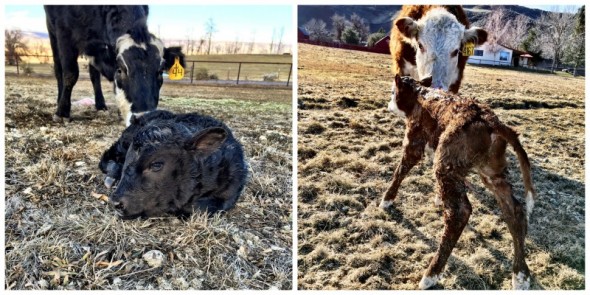
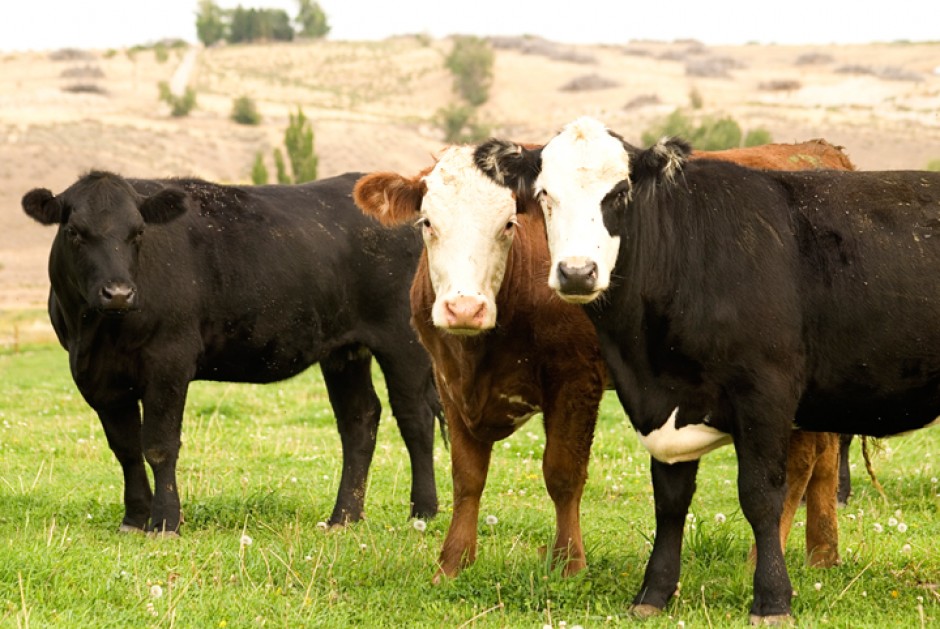
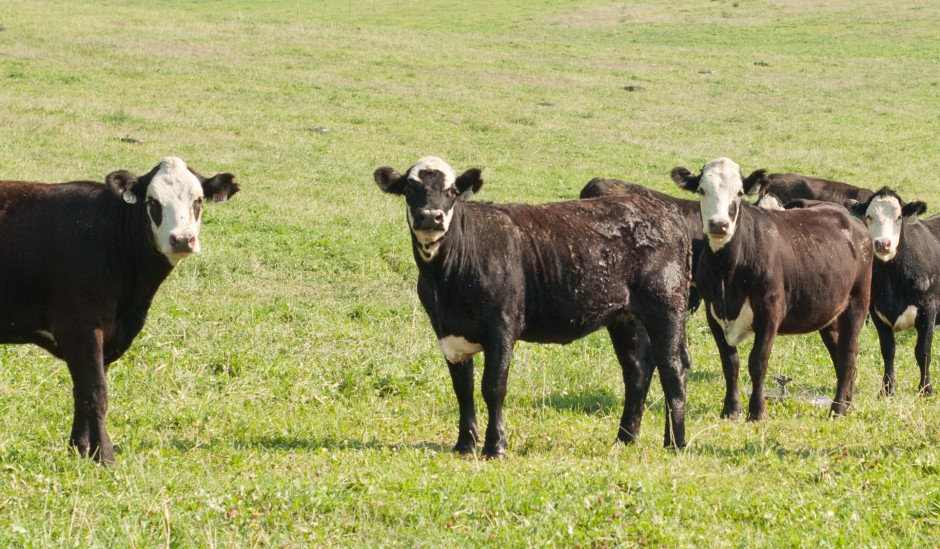
Aren’t these just the cutest calves you’ve ever seen? So far we’ve had one bull and one heifer, and have been blessed with such great mommas.

Aren’t these just the cutest calves you’ve ever seen? So far we’ve had one bull and one heifer, and have been blessed with such great mommas.

Right after lunch I started working on this chili. It didn’t take me too long to throw it all together, and get back to doing things on the ranch!

Ingredients:

1.5 lbs. ground hamburger (browned and drained)

1 can Kidney Beans

1 can Pinto Beans

1 can Black Beans

1 can Great Northern Beans

1 can corn

1 small/medium yellow onion (chopped)

1 small/medium red onion (chopped)

¼ cup barbecue sauce

¼ cup Frank’s Buffalo sauce

¼ cup Worcestershire sauce

Pepper, Cumin, and Chili Powder to taste

Beef Broth (optional)
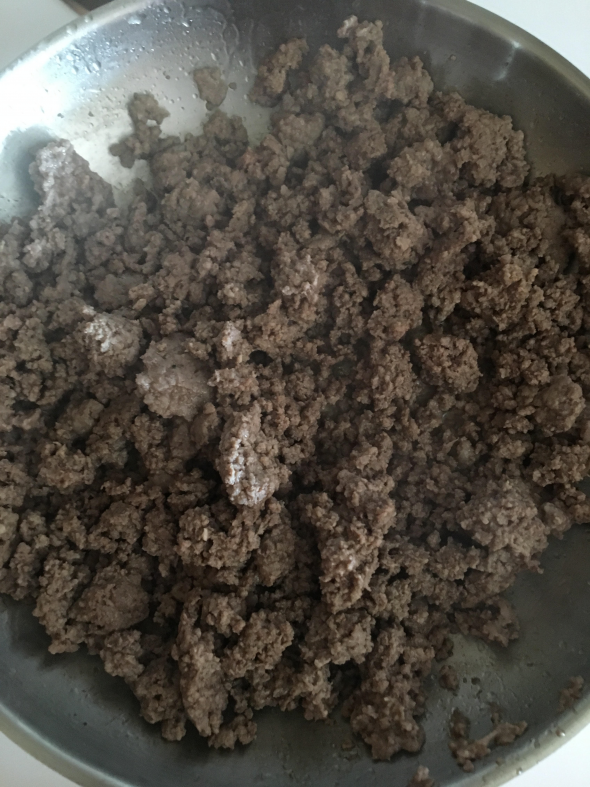
cookedgroundFirst, I went through the process of browning my hamburger. We had our butcher grind everything pretty lean, which made for very little fat to drain off. I’m a big time proponent of lean beef—nothing can compare to its protein-packed flavor!

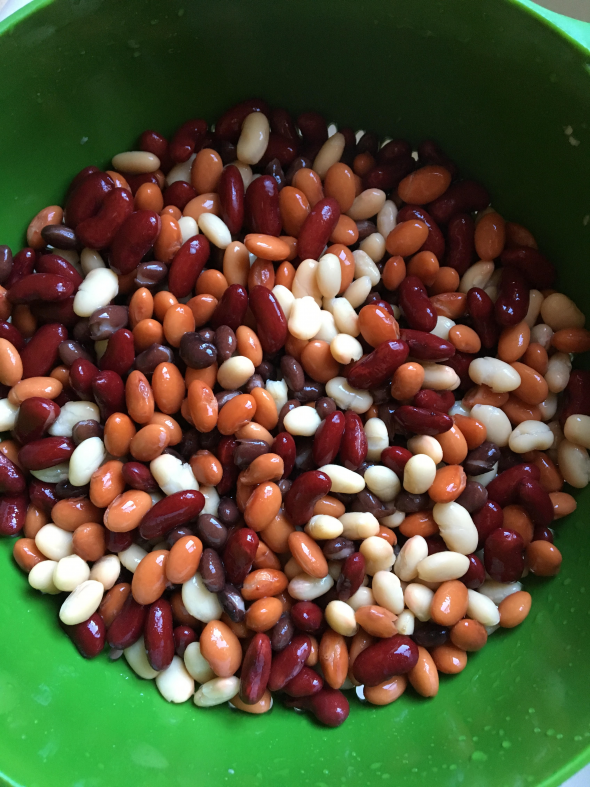
While the hamburger was browning, I dumped all four cans of beans into a strainer, draining and rinsing them prior to putting them into the slow cooker.fourcolorbeans
I also chopped up both onions, and added them in; along with the barbeque sauce, Worcestershire sauce, and Frank’s Buffalo Sauce. After the hamburger was browned (about 7-10 minutes), I added it to the pot, closed the lid, and set it to cook on low for 3 hours. Whenever I’d get a chance to come inside I’d open the lid and stir things around, just to make sure everything got mixed in.

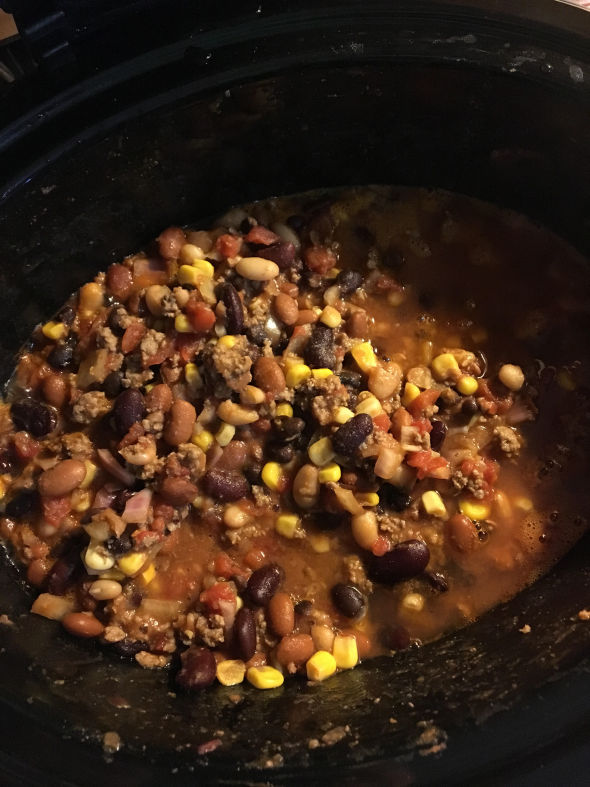
Here’s my reasoning as to why I consider the beef broth to be optional. Personally, I prefer my chili to be thick and hearty. As the combination of beef, beans, corn and sauce cooks, you’ll notice that a good amount of liquid starts to make itself known (as you can see in the picture below). After it’s stirred in, the mixture creates the perfect blend of chili—not too thick, but not too runny. That being said, there are people who prefer chili to be more in the form of a soup. If you’re one of those individuals, I suggest adding in one can of beef broth, to give the mixture a little bit of added moisture as it cooks.finished product
It was a beautiful day, so while this was cooking I went up and helped the guys with our afternoon feeding. Because of that, I didn’t get a chance to make cornbread like I promised—but I’ll be sure to add it to another recipe down the road. My cornbread probably wouldn’t have had a very big dent in it, because there was a good 15 minutes where Justin and I dipped our chili straight out of the Crock-Pot with some tortilla chips. Not sanitary, I know.

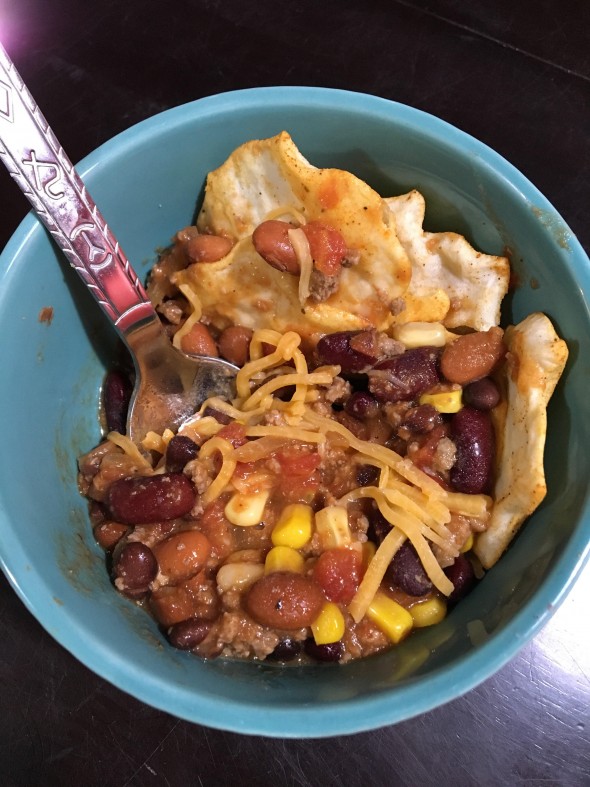
When it was actually time for dinner, I threw my scoop of chili in with a little fat free cheddar cheese and some of my favorite Quest-brand barbecue chips, to give it a little extra flavor. For all you little health nuts out there (myself included)…this recipe is the perfect blend of fat, carbohydrates, and protein; making it a balanced meal that’ll not only fuel your body, but keep you full for a long period of time.

Next week I’m cooking up a Blade Roast—so if you’ve got any delicious recipes, be sure to send them our way! And if you haven’t heard, we’re giving away two of these fun “Make Mine Beef” caps, so don’t forget to subscribe to our posts for a chance to win!
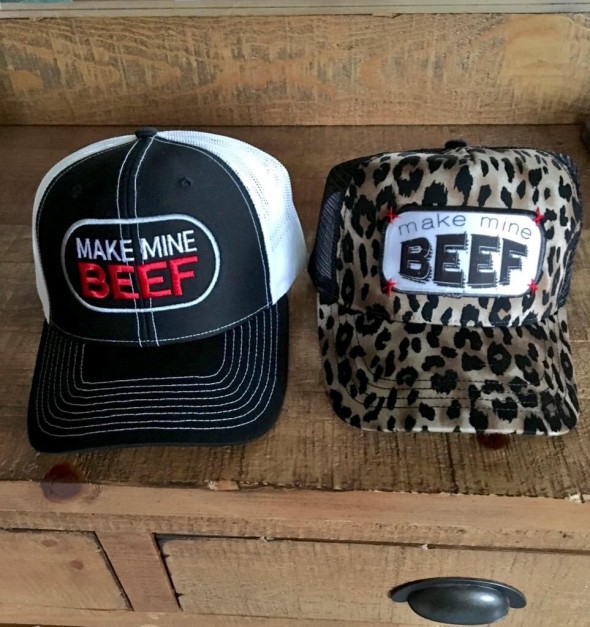
makeminebeef

Categories: Beef, Blogging, Recipes

Rib Steak: A Year of Beef

Welcome to the second installment of our Year of Beef series! We had a lot of great feedback from last week’s recipe, which we were all really excited to hear!

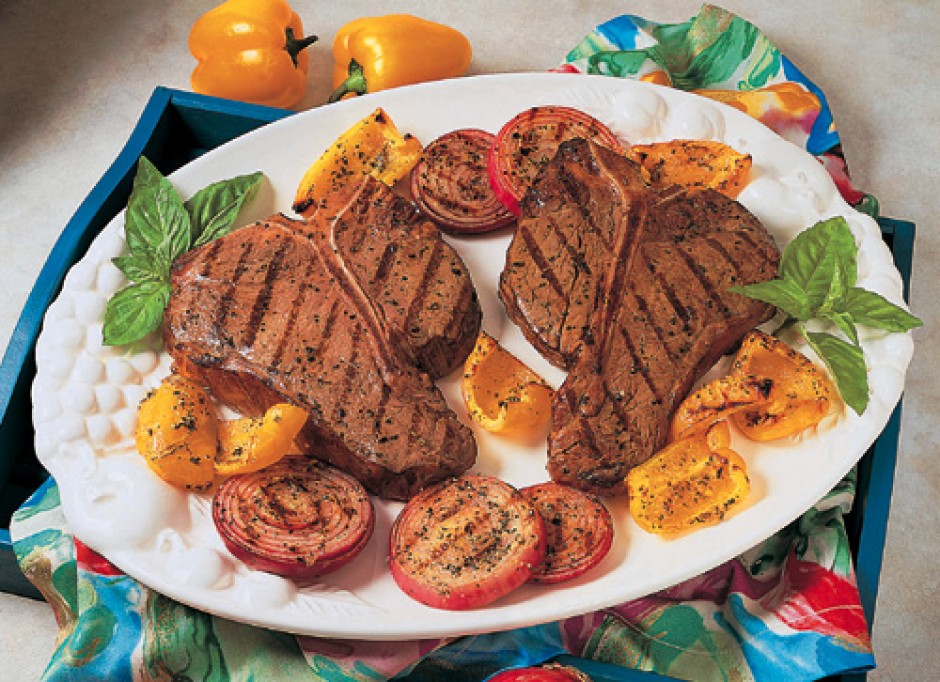
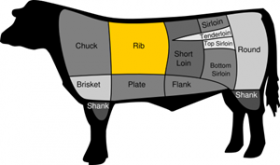
Beef Diagram; RibThis week we’re going to grill up a couple of absolutely beautiful rib steaks! This delicious cut is located at the top of the rib primal portion of the beef (highlighted in yellow) and generally comes from the section of beef spanning from ribs six through twelve.
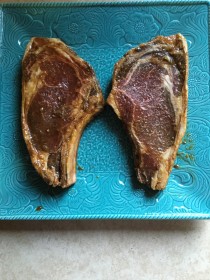
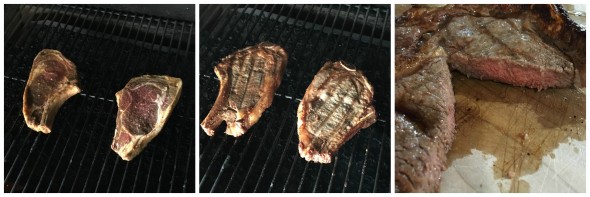
So what’s the difference between a Rib Steak and Prime Rib? Not a whole lot! When combined as a multiple Rib Roast section and roasted, it’s considered to be Prime Rib; but when each one section is sliced and then grilled, it becomes a bone-in rib steak.

This marinade recipe comes from the kitchen of my pal Tamzy Hopwood, who submitted it after last week’s O Bone Roast recipe! Tamzy is quite the cook, so I had no doubt what she was sending me would turn out phenomenal!

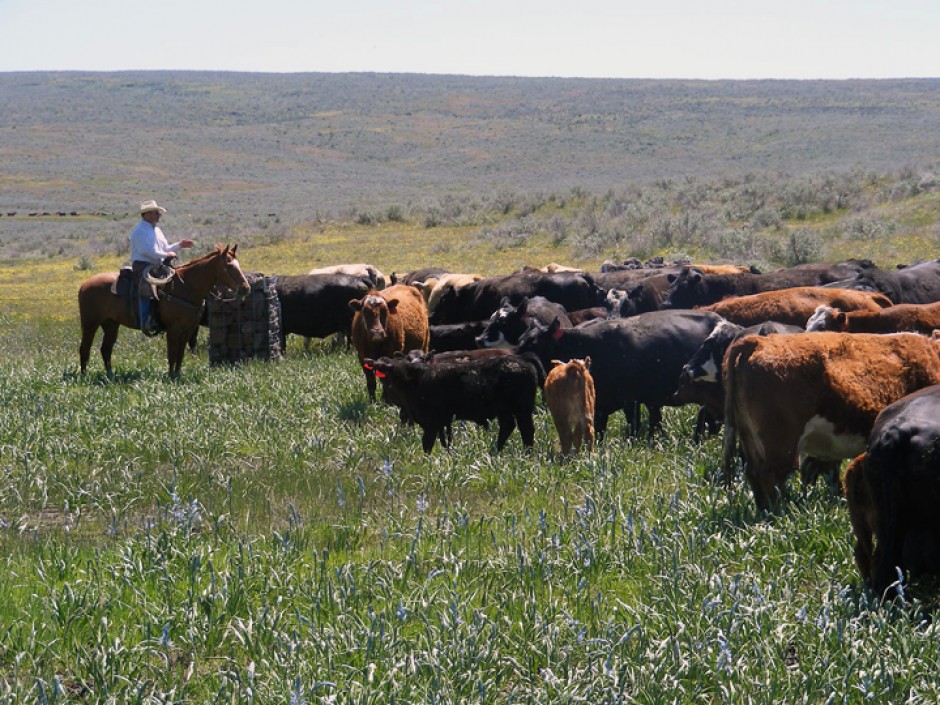
The last few day’s we’ve been busy moving different sets of expectant mother cows into their new “nursery” fields. It’s been windy, wet and cold—so the last thing I want to do after being out all day is come home and cook some extravagant meal. A recipe like this works perfect for our current schedule, because all I have to do when I get home is turn on the Traeger, and whip up some kind of side to go with it. And did I mention there are hardly any dishes to do?! Now that’s what I call winning!!

Rib Steak; Beef

Ingredients:

1/3 cup low-sodium soy sauce

1/4 cup olive oil

1/3 cup fresh lemon juice

¼ cup Worcestershire sauce

1 ½ tsp garlic powder

3 Tb dried basil

1 ½ Tb dried parsley flakes

1 tsp course sea salt (if desired, not necessary)

Add all ingredients into a gallon-sized Ziplock bag. Add steaks to marinade mixture, refrigerating at least 8 hours, prior to cooking.

Since I knew I would be busy making lunches in the morning, I started marinating these the night before—which gave them almost 24 hours to immerse themselves into this mixture, prior to grilling.

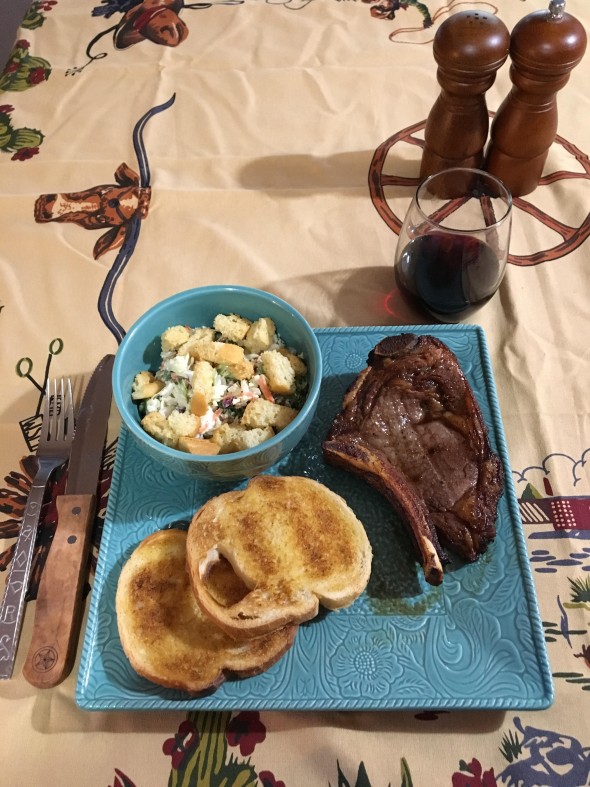
Rib Steak; BeefI fired up our Traeger on high, and cooked each steak for 8 minutes per side. I decided to keep our meal pretty simple, so in between flipping steaks I whipped up a homemade Caesar salad and a few slices of garlic bread.

Rib Steak; Justin JarvisJustin claimed this was the best steak I’ve ever cooked, so I think we can officially consider this recipe to be a success! At first I thought he was just trying to be nice, but after I had a chance to dig into mine, I have no doubts his words were somewhat close to the truth.
Next week I’m planning on making up a pot of hamburger chili and cornbread, along with a fun little giveaway, so be sure to stop by!

Categories: Beef, Blogging, Idaho Cattlewomen, Recipes

O Bone (Chuck) Roast: A Year of Beef

Welcome! Today is the first day of our Year of Beef series.

Before we get into the actual cooking beef part, I want to make a few things clear.

  1. I am not completely inept when it comes to cooking; however, I am far from a professional. I don’t own any fancy cooking devices, know what a balsamic-reduction is, or know how to fold my linen napkins into little origami swans. So if you’re reading along thinking to yourself “I don’t know if I can do that,” the answer is “Yes! Yes you can!”
  2. Very few of the recipes I use this year will actually be of my own creation. I plan on using a few of my favorites, things I’ve found, and recipes that you’ve submitted! So when I say “next week I’m going to be using a Rib Steak,” feel free to send me your best Rib Steak recipes! You can fill out the contact form on our website, email us (info(at)idahocattlewomen(dot)org), or send us a Facebook® message!
  3. We wholeheartedly welcome your feedback!! That being said, we want to keep this a positive place. The point of this series is to help women feel more comfortable when cooking beef, and give new ideas to those who already do. Feel free to leave tips or tricks that you have found helpful when cooking beef or ask any questions you have about cooking beef!

Moooooooooooo-ving on…let’s get cooking!!!

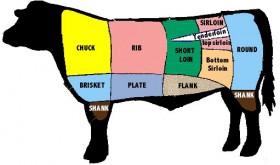
The roast cooked today is an O Bone, named because of the small, circular bone within the cut. This is a type of bone-in Chuck Roast. A Seven-Bone Roast or other bone-in chuck roast will cook the same. meatdiagram

As you can see, Chuck cuts (highlighted in yellow) come from the high shoulder area. It’s naturally a tougher cut of meat so cooking it low and slow yields a tender texture and delicious taste!

If you’re someone who is going to be looking for one of these bad boys in a grocery store, you’ll find them to be moderately priced—so buy away!

The recipe I’m using came from The Wicked Noodle and is one I will definitely be using again!

Ingredients:

2-3 tablespoons vegetable or canola oil

4 pound Chuck Roast

1 medium to large yellow onion, chopped

1/3 cup balsamic vinegar

2-3 tablespoons Dijon mustard

5 sprigs fresh thyme

2 cups reduced-sodium beef broth

2 bunches small carrots

1 pound baby potatoes, white or red

Salt & freshly ground black pepper

**My additions/substitutions: Neither of my local grocery stores carried fresh thyme, so I chose to forego that ingredient. I like rubbing meat in a product called “Spade L Ranch Beef Marinade and Seasoning,” and thought this would be a good opportunity to do so (which I will explain about below). I also had a couple sweet potatoes that I wanted to get used up, so I substituted those for the 1 pound of baby potatoes.

Instructions:

  1. Preheat oven to 300F.
  2. Heat oil in a large dutch oven over high heat. Season roast well with salt and pepper, add to pan and brown well on all sides (a few minutes per side). Remove roast and set aside.
  3. Add chopped onion to drippings in pot and reduce heat to medium. Sauté onions until soft, about 5 minutes. Add balsamic vinegar, increase heat to medium-high and boil until reduced and slightly syrupy, about 4-5 minutes. Stir in Dijon.
  4. Set roast on top of onions in pot. Pour in 2 cups of beef broth and add thyme sprigs. Cover and place in over for 2 ½ -3 hours, or until very tender.
  5. Add carrots and potatoes to pot and return to oven. Continue cooking until carrots and potatoes are tender, somewhere between 30 and 60 minutes.
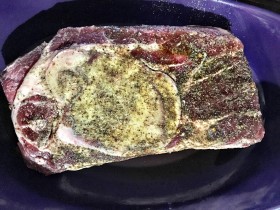
Isn’t a rubbed roast just beautiful?!

Isn’t a rubbed roast just beautiful?!

Spade L Ranch Beef Marinade and Seasoning is one of my favorite products, so I decided to put it to good use. Although the original recipe doesn’t call for adding a rub, I chose to rub my roast the night before, and let it sit overnight in all that delicious flavor.

Rubbing something like this is super simple…I added a small amount of water to a shallow baking dish, got all sides of the roast wet, and then went to town rubbing Spade L anywhere it would stick. 

obone3

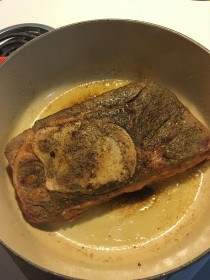
Fun Fact: My house and I both survived the browning process, intact!

I’m not going to lie, the browning process made me real nervous. I remember one time when I was younger my mom was making a friend and I homemade finger steaks, and accidently had a small grease fire. Ever since I’ve been leery of beef and oil together….so you can only imagine what went through my head the moment I put my roast in the pan. “Here I’ve promised everyone that I wouldn’t burn my house down, and chances are it’s gonna happen right now!”

After the browning process, I continued on with adding the chopped onions in and probably sautéed them for a good 5-6 minutes. Then I boiled down the balsamic vinegar and added in the Dijon. It was at this point where I wondered if I had picked the right recipe. Hot onions, boiling vinegar, and spicy Dijon–my eyes started watering with all the fumes and there was a small part of me that wondered if I still had time to turn back.

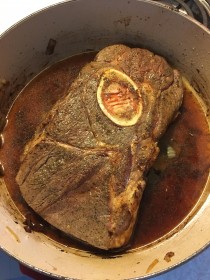
Remember when I told you that I didn't own any fancy cooking devices? Case in point...I borrowed this Le Creuset dutch oven from my Mom, and it was the perfect size!After everything was browned, sautéed, dijoned,and brothed it was finally ready to go in the oven! I love this part because it gave me time to get a few things done around the house, which included washing all the dishes I used! I’m the kind of person who loves sitting down to a meal with an already-clean kitchen!
At the 2.5 hour mark, I took the roast out, and added the carrots and potatoes. I cut both up pretty thin, because I wanted them to come out really tender. I kept the roast in the oven for another hour before pulling it out and slicing it up!

O Bone Roast


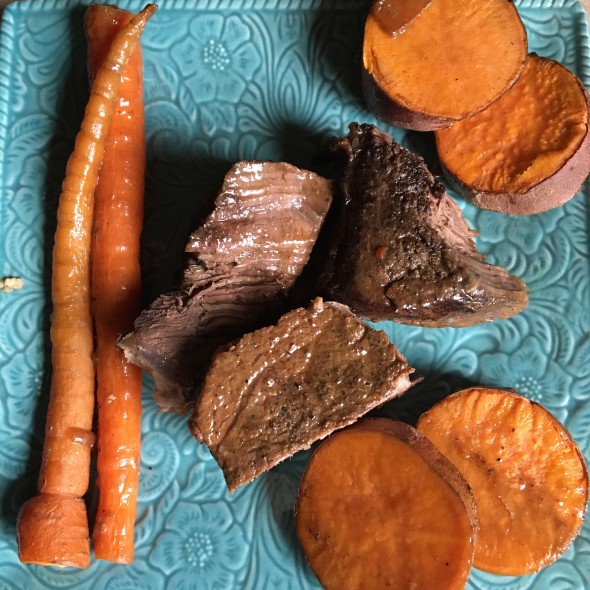
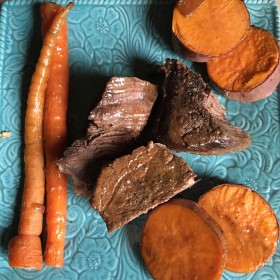
This, my friends, is O Bone Roast heaven! The guys had to unexpectedly run to Twin Falls the same day I made this, so Justin didn’t come home for lunch. Since I didn’t want something this fresh-out-of-the-oven to go to waste, I called my Mom and had her come over for lunch. She gave it two thumbs up, and told me she wants to use this recipe on her own cut of Rafter T Ranch O Bone!

Next week I’ll be cooking up a Rib Steak, so if you have any good recipes be sure to send them my way!

Categories: Beef, Cattle, Idaho Cattlewomen, Ranch Life, Recipes

A Year’s Worth of Beef

Hello there, and Happy New Year! I hope the first few days of 2016 have treated you well!

One of my goals for the upcoming year is to really focus on getting better at the things I’m already good at. That probably sounds a bit silly, but sometimes I think we get lost in wanting to add new things to our lives, when we really should be working to perfect the skills we already have. I’m the kind of person who likes to be the best, so why not work on bettering the things I’m already pretty decent at?! For instance, although my husband continually tells me I’m a great cook, I know I have a lot of room for improvement—and I know exactly how I can channel my inner Ree Drummond.

At the tail end of last year, our ranch had two animals butchered, which we split three ways. The great part about butchering your own animal is having a freezer full of beef. The somewhat unfortunate part of that is the daunting feeling of “What am I going to do with all of this?” This isn’t a bad thing if you know how to cook it all; but that my friends, is where I fall short. While I know I’ve eaten every traditional cut of beef, I also know that cooking them all (on my own) is something I have not accomplished in my 25 years of life. Until now!

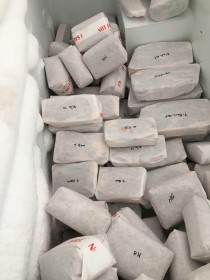
Isn't a freezer full of beef just heavenly?!

Isn’t a freezer full of beef just heavenly?!

In an effort to keep my cooking creative (and my husband’s stomach full), each week or so for the rest of the year I plan to write about my culinary experiences with a new cut of beef. Some cuts will be repeated over the course of the year, but each cut will be guaranteed to feature a different recipe. I also plan on enlisting your help every now and then—asking for your tips, tricks, and fabulous recipes!

Join me on my quest for 2016, as I take on beef—one cut at a time!

~J

Categories: Beef, Idaho Cattlewomen, Lifestyle, Recipes

How to Buy Beef

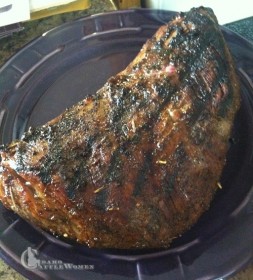
Grilled Tri-Tip, right off the barbeque! Seasoned with a dry rub of kosher salt, fresh ground pepper, dried chipotle, cumin, garlic powder and onion powder. An easy and economical cut of beef!

Can you believe Memorial Day weekend came that fast? It doesn’t seem like we can be that far through the month of May, let alone 2015, but here we are! It probably doesn’t come as much surprise that Memorial Day kicked off the summer grilling season. I just love the thought of burgers and steaks flying off backyard grills all across America. But something I don’t love is the fact that a lot of people forgo grilling because they feel intimidated when buying beef. I completely understand that feeling, because even as a beef producer, I’ve been there. But, let me be the first to tell you, anyone can learn more about how to buy beef.

The town closest to where we live is lucky enough to have two of the best locally-owned grocery stores—and when it comes to meat, there’s no one I trust more than our hometown butchers. Last week I sat down with meat cutter/grocery store owner, Brock Lenz, and asked him to give his insight on all things buying beef. Here’s what he had to say:

If you’re planning on buying a steak, the first thing to do is pick out the cut you want. Muscles that don’t get used by the animal make the best steaks. Those include your Tenderloin, T-Bone, Ribeye, and New York steaks—to name a few. Any muscles that the animal uses to move, (known as motor muscles), are going to be your tougher cuts. However, there are a lot of delicious cuts hidden within those motor muscles, such as the Flat Iron, that are just as good as those that come from the top and back of the animal.

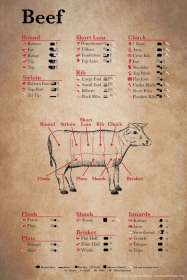
This print from Chasing Delicious is one of my absolute favorites! If I had enough room, I’d love to have one hanging in my kitchen! -Jessie

This print from Chasing Delicious is one of my absolute favorites! If I had enough room, I’d love to have one hanging in my kitchen! -Jessie

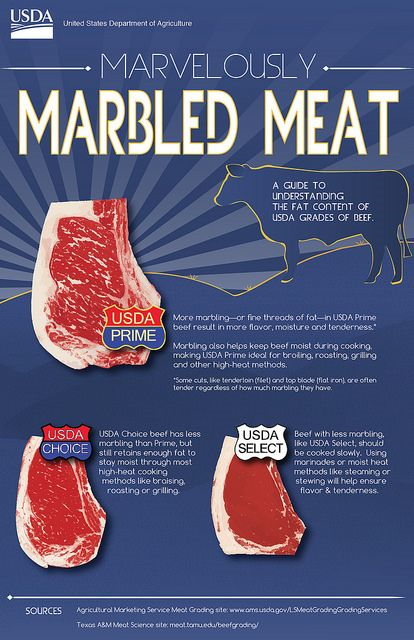
Once you’ve decided on a cut, the next thing to look for is what’s called “marbling.” Marbling refers to the white flecks of fat that is found inside a cut of red meat. The more marbling a cut has, the more flavor it’ll have and the more tender it’ll be.

MarblingInfographic

A lot of people think that a steak has to be expensive to be good. You can’t really go wrong with cuts like the tenderloin, ribeye, etc., which tend to be higher priced; however, there are many other cuts that provide a great eating experience. And they are more economical. When it comes to value, I think Sirloin is your best bet. A Top Sirloin or the Sirloin Tip steak are middle of the road cuts when it comes to price, and the taste is hard to beat. (Note: Even though both cuts have sirloin in the name, they are different. Check out top sirloin vs. sirloin tip to get more info on how to prepare each.)

In my opinion, one of the most versatile cuts is the Tri-Tip. It’s great for grilling and can be used for groups, big and small. It can be tricky to cut if you’ve never done it before, but that shouldn’t keep you from putting one on the grill. Idaho ranchers work hard every day to produce beef that provides a consistent, tender and high-quality eating experience every time!

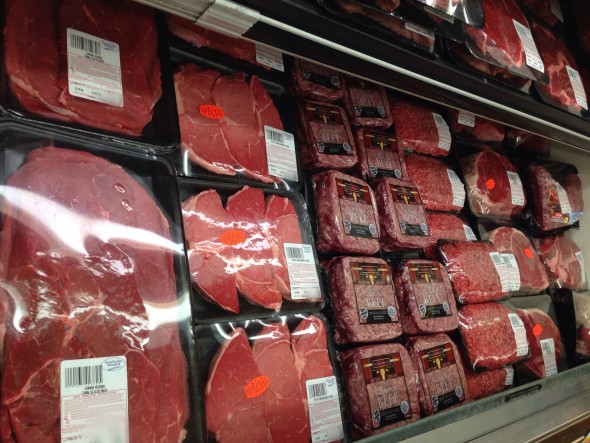
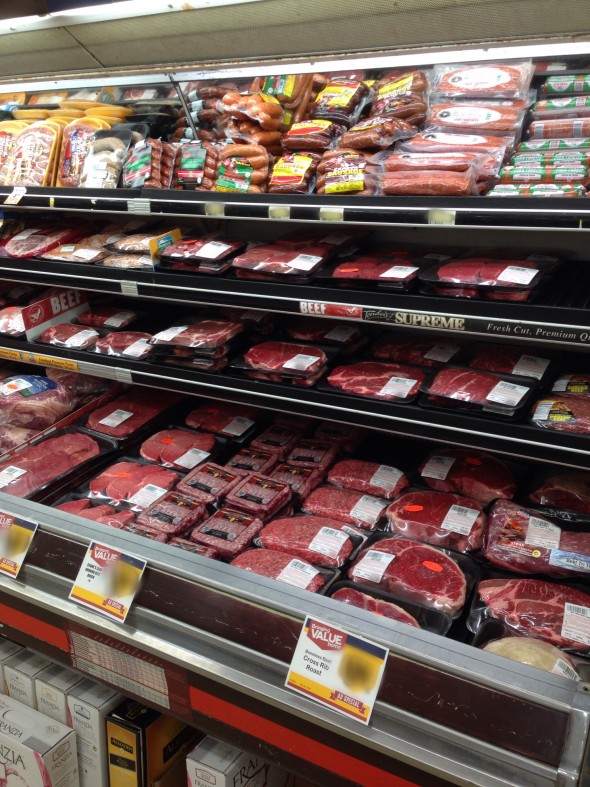
buying beef

buying beef

I love all the selections at my hometown grocery store. A great resource when buying beef is the butcher behind the meat counter.

The worst mistake you can make with beef is overcooking it. Beef can be consumed at a lower internal temperature (145 degrees) than any other animal protein. And keep in mind that your steaks will continue to cook internally for up to ½ hour after they’re taken off the grill (when resting), so don’t cook them until they’re crisp; otherwise you’ll be losing a lot of taste.

Many thanks to Brock for all his tips on how to buy beef!

The Idaho Cattlewomen hope you have lots of beef on your barbeque this summer. Feel free to ask questions in the comments section if you want to know about buying or cooking beef. We are happy to answer!

~ Jessie

Categories: Beef, Idaho Cattlewomen, Recipes